IDEXX offers in-house and reference laboratory services, as well as PACS imaging storage. Vetspire’s integration with IDEXX is bi-directional, meaning we can send diagnostic orders to your in-house machine or reference lab and display test results in Patient Chart.
BEFORE YOU GET STARTED
You will need your IDEXX VetConnect PLUS username and password to continue.
Your username should not contain any special characters, including the at (@) sign. If your username is an email address, the integration setup will fail. Contact IDEXX to update your username if necessary.
You only need ONE integration for both IDEXX in-house and reference labs.
Both in-house machines and reference labs use the same IDEXX integration. Adding separate integrations to your Vetspire account will cause test results to duplicate.
If you have an IDEXX in-house lab suite, you will also have the IDEXX reference lab integration by default.
Retrieve Your IDEXX Admin Credentials
The first step to integrating an IDEXX in-house or reference lab with Vetspire is to retrieve your IDEXX account’s unique identifiers.
-
Sign in to https://www.vetconnectplus.com/ with your username and password.
-
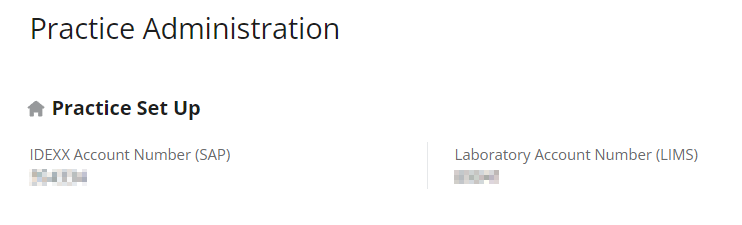
Select your account name, then select Account Administration.
-
Note your practice’s IDEXX Account Number (SAP) and the Laboratory Account Number (LIMS) under Practice Set Up.
Set Up Your IDEXX Integration in Vetspire
The following steps are the same for IDEXX in-house and reference labs.
-
In Vetspire, go to More > Admin > Integrations > Labs.
-
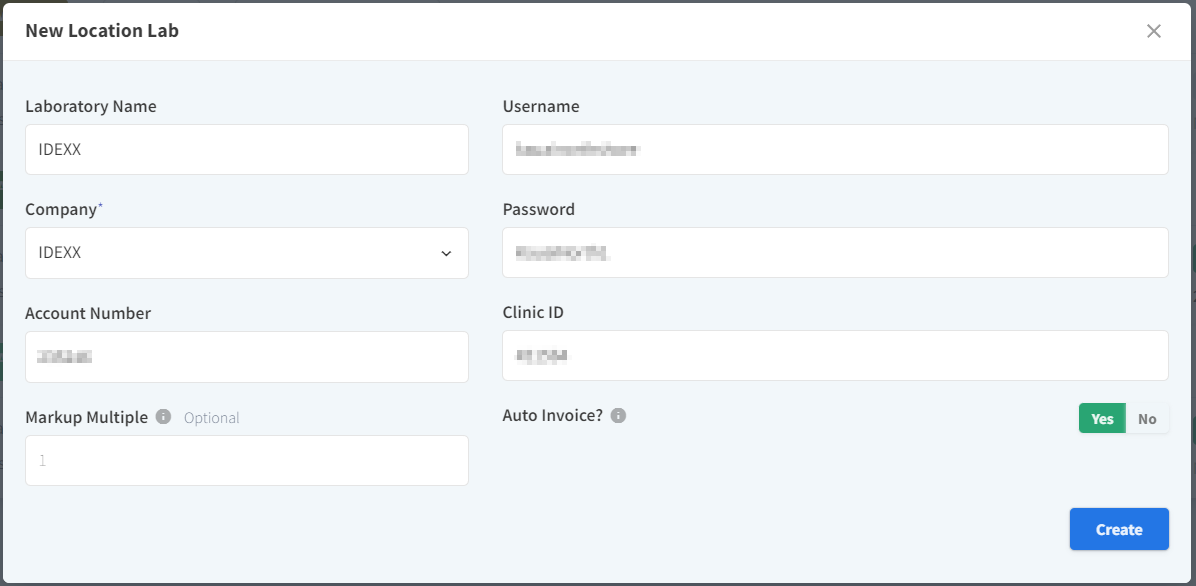
Select the location you want to edit, then select Add New Laboratory. The New Location Lab window displays.
-
Enter IDEXX in the Laboratory Name field and select IDEXX in the Company drop-down field.
-
Complete the following fields:
-
Account Number: Your IDEXX Account Number (SAP)
-
Username: Your VetConnect username
-
Password: Your VetConnect password
-
Clinic ID: Your Laboratory Account Number (LIMS)
-
All of the fields in Step 4 are case-sensitive. Enter the information in Vetspire exactly as it appears in IDEXX VetConnect PLUS.
-
Leave the Markup Multiple field blank.
-
Set Auto Invoice? to Yes.
-
Select Create.
Example:
Complete IDEXX In-House Integration
These steps are done in Vetspire after you complete the steps in the Integrate IDEXX with Vetspire procedure above.
-
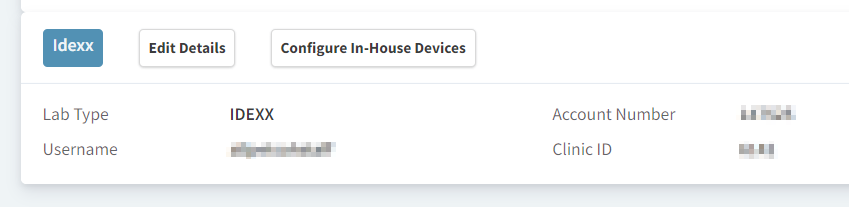
Go to More > Admin > Labs, and select the practice you want to edit
-
Locate your IDEXX integration, then select Configure In-House Devices.
-
Select a device from the Default Device drop-down menu.
-
Select No in the Ignore Device column.
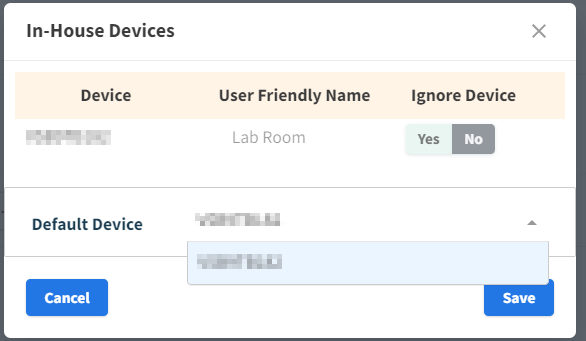
If no device is listed, your practice does not have an IDEXX Vetlab station or is not connected to the internet. Contact IDEXX for troubleshooting.
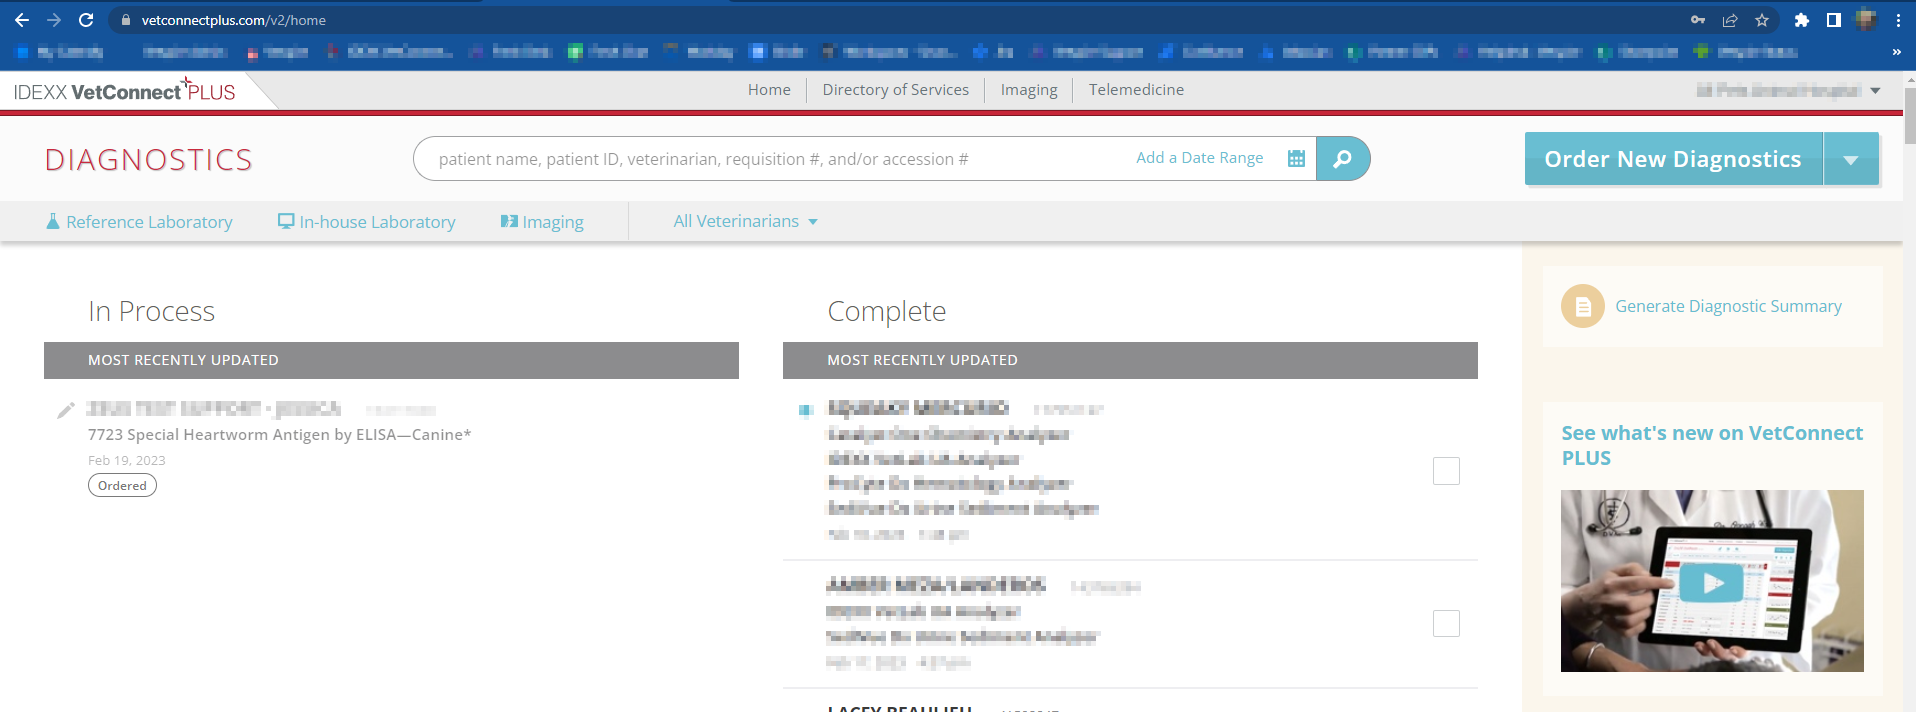
Verify the Integration in IDEXX VetConnect PLUS
You can verify that your IDEXX in-house or reference lab is configured correctly when your diagnostic orders display in IDEXX VetConnect PLUS.
-
Sign in to https://www.vetconnectplus.com/ with your username and password.
-
Select Reference Laboratory or In-house Laboratory and observe if the test you ordered displays under In Progress.
If the test does not display, verify that your IDEXX Account Number, Username, Password, and Clinic ID are entered correctly in Vetspire.
If IDEXX is still not receiving your orders after you verify your integration credentials, please contact IDEXX at 1-888-433-9987 (select option 5 and then 2).
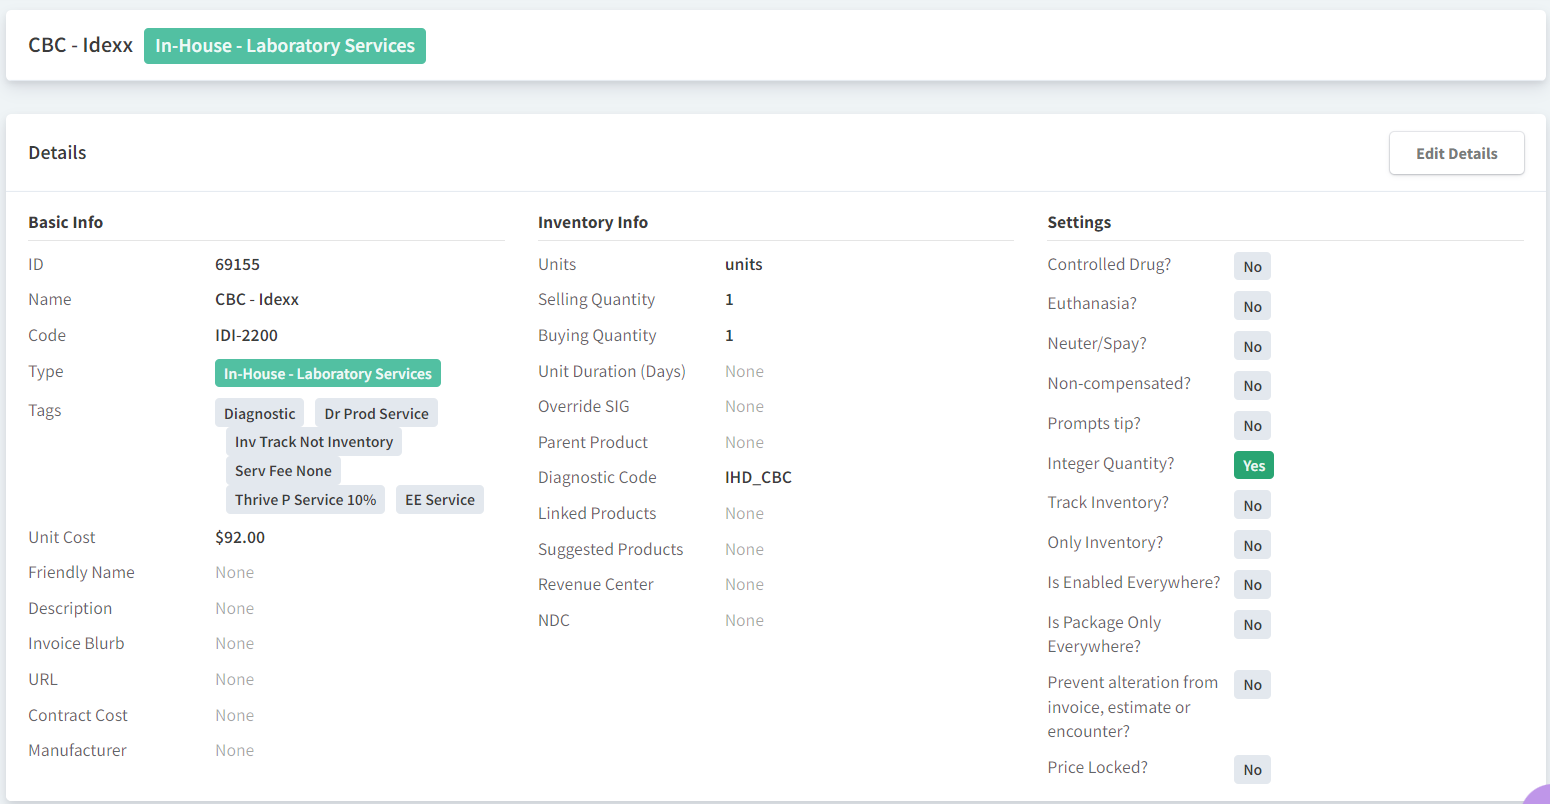
Verify IDEXX Diagnostic Codes
Go to More > Inventory & Services to ensure that all IDEXX in-house tests are linked to the correct diagnostic code. See IDEXX In-House Diagnostic Codes for the full list of codes supported by Vetspire.
Example IDEXX product in Vetspire:
Troubleshooting IDEXX Issues in Vetspire
-
Reference Lab: If you order two or more tests, include the diagnostic form for each test in the sample bag. If you only put one form in the sample bag, the diagnostic results will not transfer correctly into Vetspire.
-
In-House Lab: If you receive an error on your in-house machine, restart the machine and confirm that the following information is in Vetspire:
-
The patient’s Species is listed in Patient Chart > Info.
-
The client’s name is separated into the Given Name (first) and Family Name (last) fields. Both the client’s first and last names cannot be in the same field together.
-
Your VetConnect Plus credentials are entered correctly in More > Admin > Integrations > Labs.
-