A client can complete self check-in forms before their appointment, or you can check-in a client from Schedule or Flow.
Client Self Check-In
Prior to an appointment, you can send a client their check-in and consent forms via email or SMS (text) message.
Important Things to Note
-
Links to self check-in forms expire after two weeks.
-
If the client submits their check-in forms after the appointment has started, the data they provide will not populate in Vetspire.
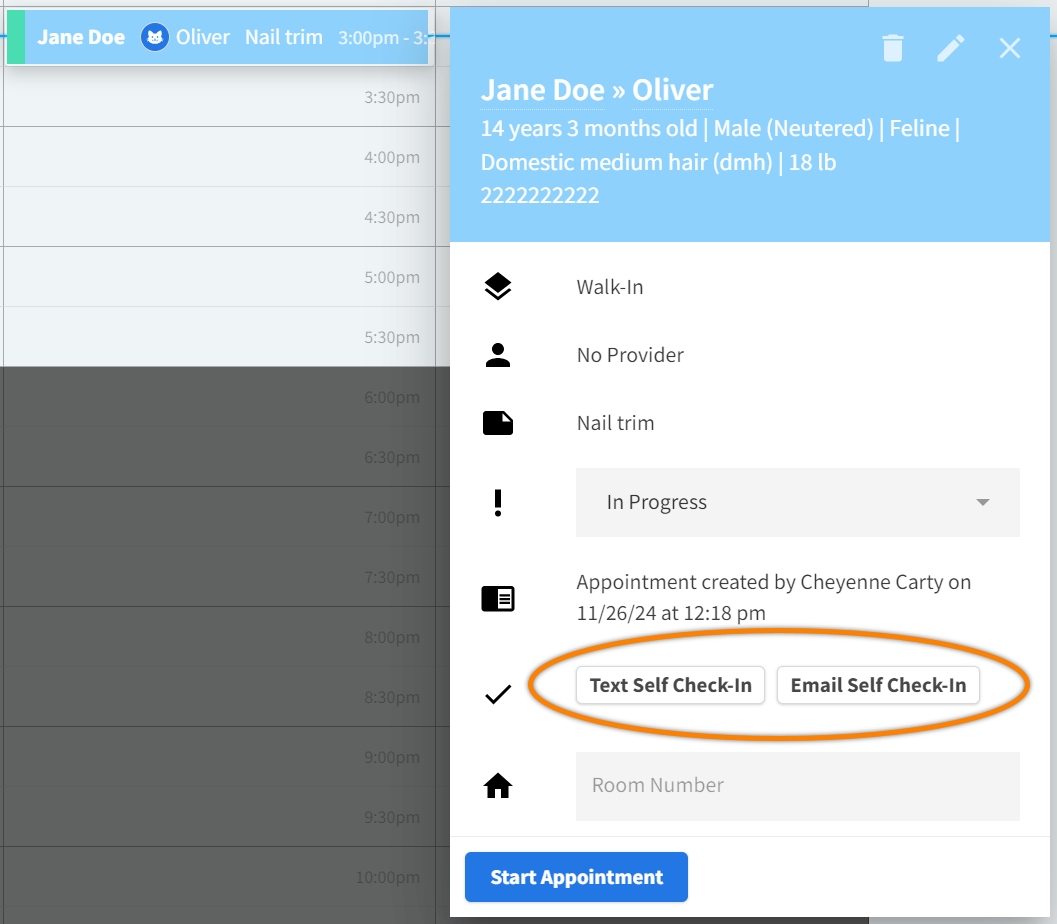
To send self check-in forms to the client:
-
Select the appointment in Schedule.
-
Select Text Self Check-In or Email Self Check-In to send the forms to the client’s phone number or email address, respectively.
You can use these same buttons to resend check-in texts or emails to clients.
Video: Send Self Check-In Forms to Client
Check In Patient from Schedule
-
Go to the Schedule tab from Global Navigation.
-
Select the appointment in the calendar.
-
Set the Status field to Checked In.
-
Select Start Appointment.
The patient’s appointment status updates to In Progress in Flow.
Check In Patient from Flow
-
Go to the Flow tab from Global Navigation.
-
Select the appointment tile in the Awaiting column to open the Appointment window.
-
Select Expand Intake Form.
-
Complete the intake form, which includes client information and appointment notes.
-
Close the Appointment window, then select Check In on the appointment tile.
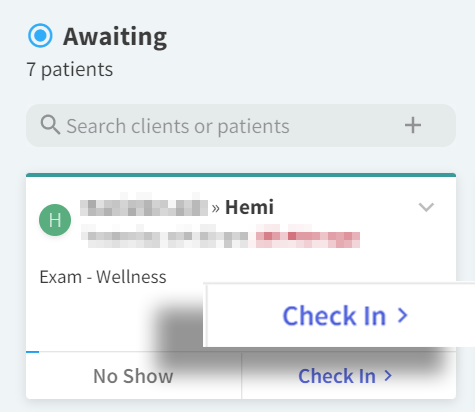
The patient’s appointment status updates to Checked In, and the appointment tile moves to the Checked In column.
Select Start Case on the appointment tile to begin the encounter and update the appointment status to In Progress.