Complete Consent Form
In Patient Chart > Forms, you can send consent forms to a client via email or SMS (text) message. You can also provide clients with their consent forms at their appointment on a tablet or as a printed document.
Select New Consent to add a consent form for the patient, then select one of the following options:
Text Form or Email Form: Enter a subject and body message, then select Send. The client will receive the consent forms from your location’s SMS phone number or email address.
Print: Send the consent form to your local printing device.
Once a consent form is signed, it cannot be deleted from Patient Chart.

Security Feature for Consent Forms
To help prevent unauthorized viewing or editing of medical records, the system will automatically log you out of Vetspire after you send a consent form via email or SMS (text) or cancel the creation of a new form.
When you log back in, you can quickly access the patient from your five most recently accessed patients in Global Navigation.

How to Send Consent Forms with Self Check-In
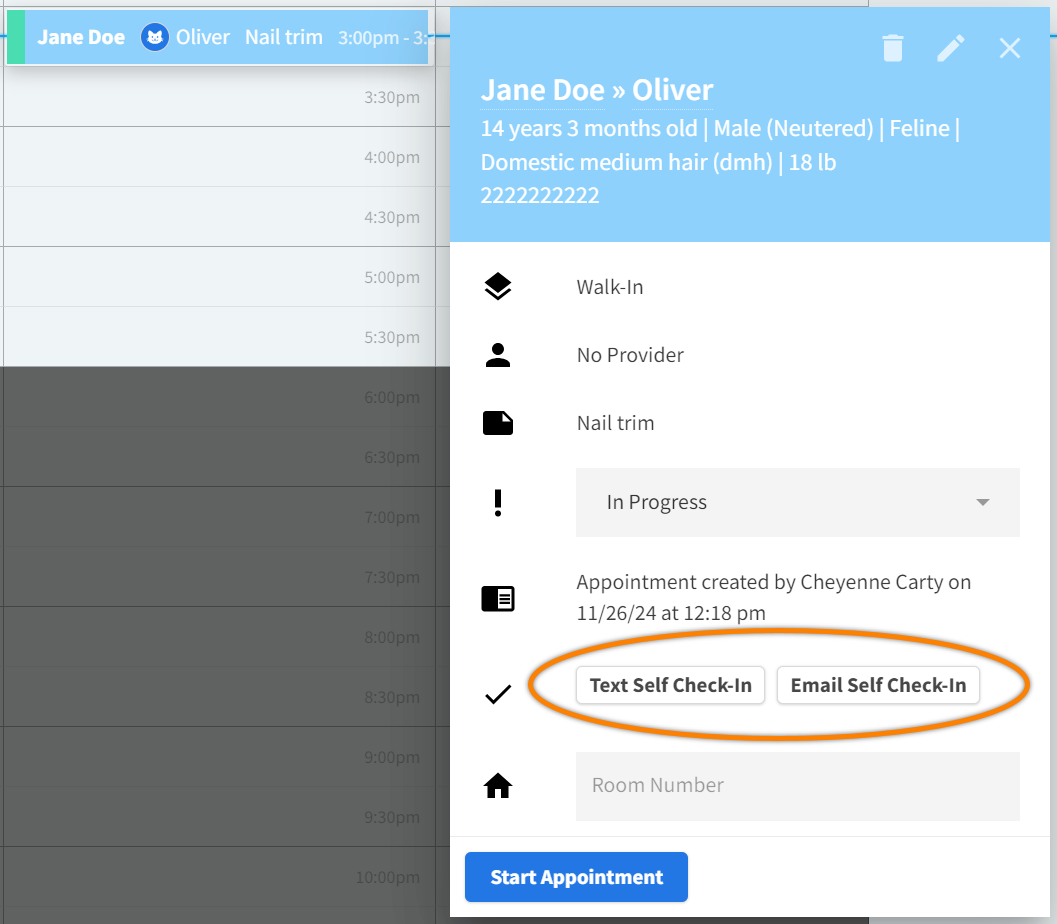
From Schedule, select the client’s appointment, then select Text Self Check-In or Email Self Check-In to send a client their consent forms with their self check-in forms.

