In More > Marketing & Reminders > Automations > Targeted Messages, you can build automated campaigns to engage all or specific groups of your client base with unique messaging. Once sent, targeted messages display as Closed conversations in Inbox.
Create a Targeted Message Campaign
-
Go to More > Marketing & Reminders > Automations > Targeted Messages and select +Add New.
-
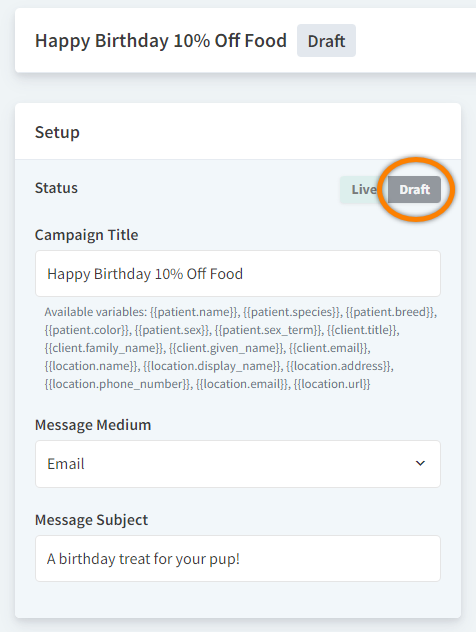
Enter the Campaign Title. This title is for internal use only and is not visible in the client message.
-
Choose the Message Medium (Email or SMS text message).
-
Enter the Message Subject.
-
(Required) Set the Trigger Type. See the Set the Targeted Message Trigger section below for more details.
New campaigns are automatically saved in the Draft status.
Draft campaigns do not trigger messages until you manually update the status to Live. When you are ready for the campaign to go live, select Live to change the status.
Set the Targeted Message Trigger
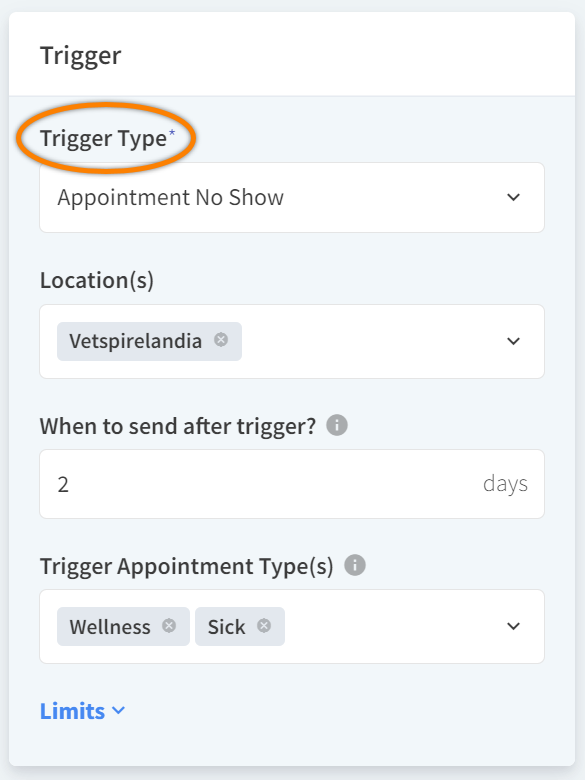
Targeted messages are “triggered” to send to users when a specific system event occurs, such as Appointment Completed or Patient Birthday. Select your desired system event trigger in the Trigger Type field.
All other fields in the Trigger section are optional:
-
Location(s): Select the location(s) for which the targeted message is active. Leave this field blank if the targeted message applies to all of your organization’s locations.
-
When to send after trigger?: Enter the number of days that the system must wait to send the targeted message after the trigger event occurs.
-
Limits: Expand this section to limit the number of times a targeted message can be sent to a client.
-
Limit Send Within Days: Enter the number of days in which the message can be sent once to a client for each of their patients. (For example, enter 60 to only send the message once every 60 days when the trigger event occurs.)
-
Send Limit: Enter the number of times the message can be sent to a client for each of their patients.
-
Limited targeted messages are sent per patient.
If a client has multiple patients, the targeted message will send for each of their patients according to the limits configured for the Trigger.
Example: Jane has two cats. Your targeted message is configured to send a promotional message twice a year (Send Limit = 2). Jane then receives two messages for both of her cats, for a total of 4 messages sent but no more than 4.
Additional options may display based on your selected Trigger Type:
-
Trigger Appointment Type(s): Displays for the trigger event types Appointment Completed, Appointment Start Date, Appointment Created, and Appointment No Show. Select the appointment type(s) for which the targeted message applies. (Appointment types are configured in More > Admin.)
-
Trigger by Plan(s): Displays for the trigger event types Plan Enrollment and Plan Expired. Select the wellness plan(s) for which the targeted message applies. (Wellness plans are configured in Financials.)
Set Filters for Targeted Message
To narrow the client base the campaign message will be sent to, you can add patient, client, and appointment filters:
-
Species: Select one or more species to target clients who own pets of those species.
-
Breeds: When you filter the client base to one or more specific Species, this drop-down menu displays all breeds within that species. Select one or more Breeds to further filter the client base.
-
Restrict to Only Non-Neutered (Patients): Select Yes or No.
-
Age Restrictions: Expand to view age range filters. For example, if you are creating a campaign for newborn puppies and kittens, you may want to set the Age Unit to Months, then set the range as Age Low = 1 and Age High = 11.
-
Appointment Filters: Expand to filter based on the clients' past completed appointment types and future scheduled appointment types. (Appointment types are configured in More > Admin.)
-
Client Filters: Expand these filters to tell the system to skip messaging clients who are missing an Email Address or Phone Number in their profile.
Customize Targeted Message Email Design
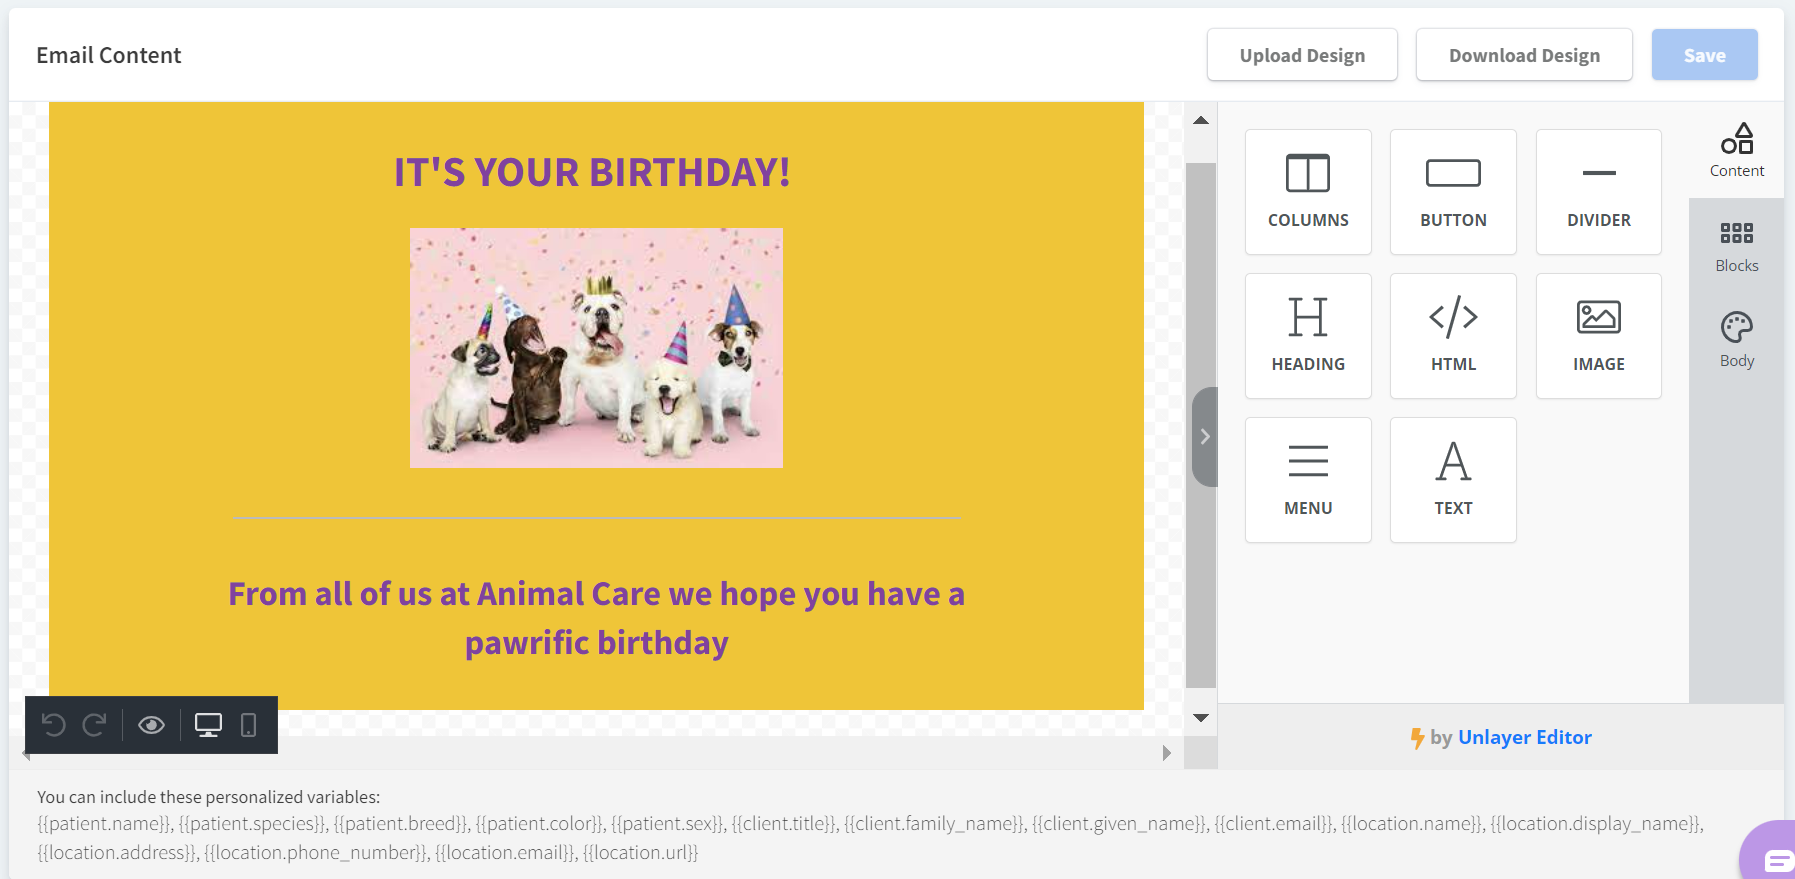
Use the Email Content editor to build and personalize your targeted message email body with text variables, images, calls-to-action, social media links, and more! You can also select Upload Design to load your own JSON design file in the editor.
Drag and drop content blocks from the right panel onto the Email Content canvas. Select Save when you are done creating your design.
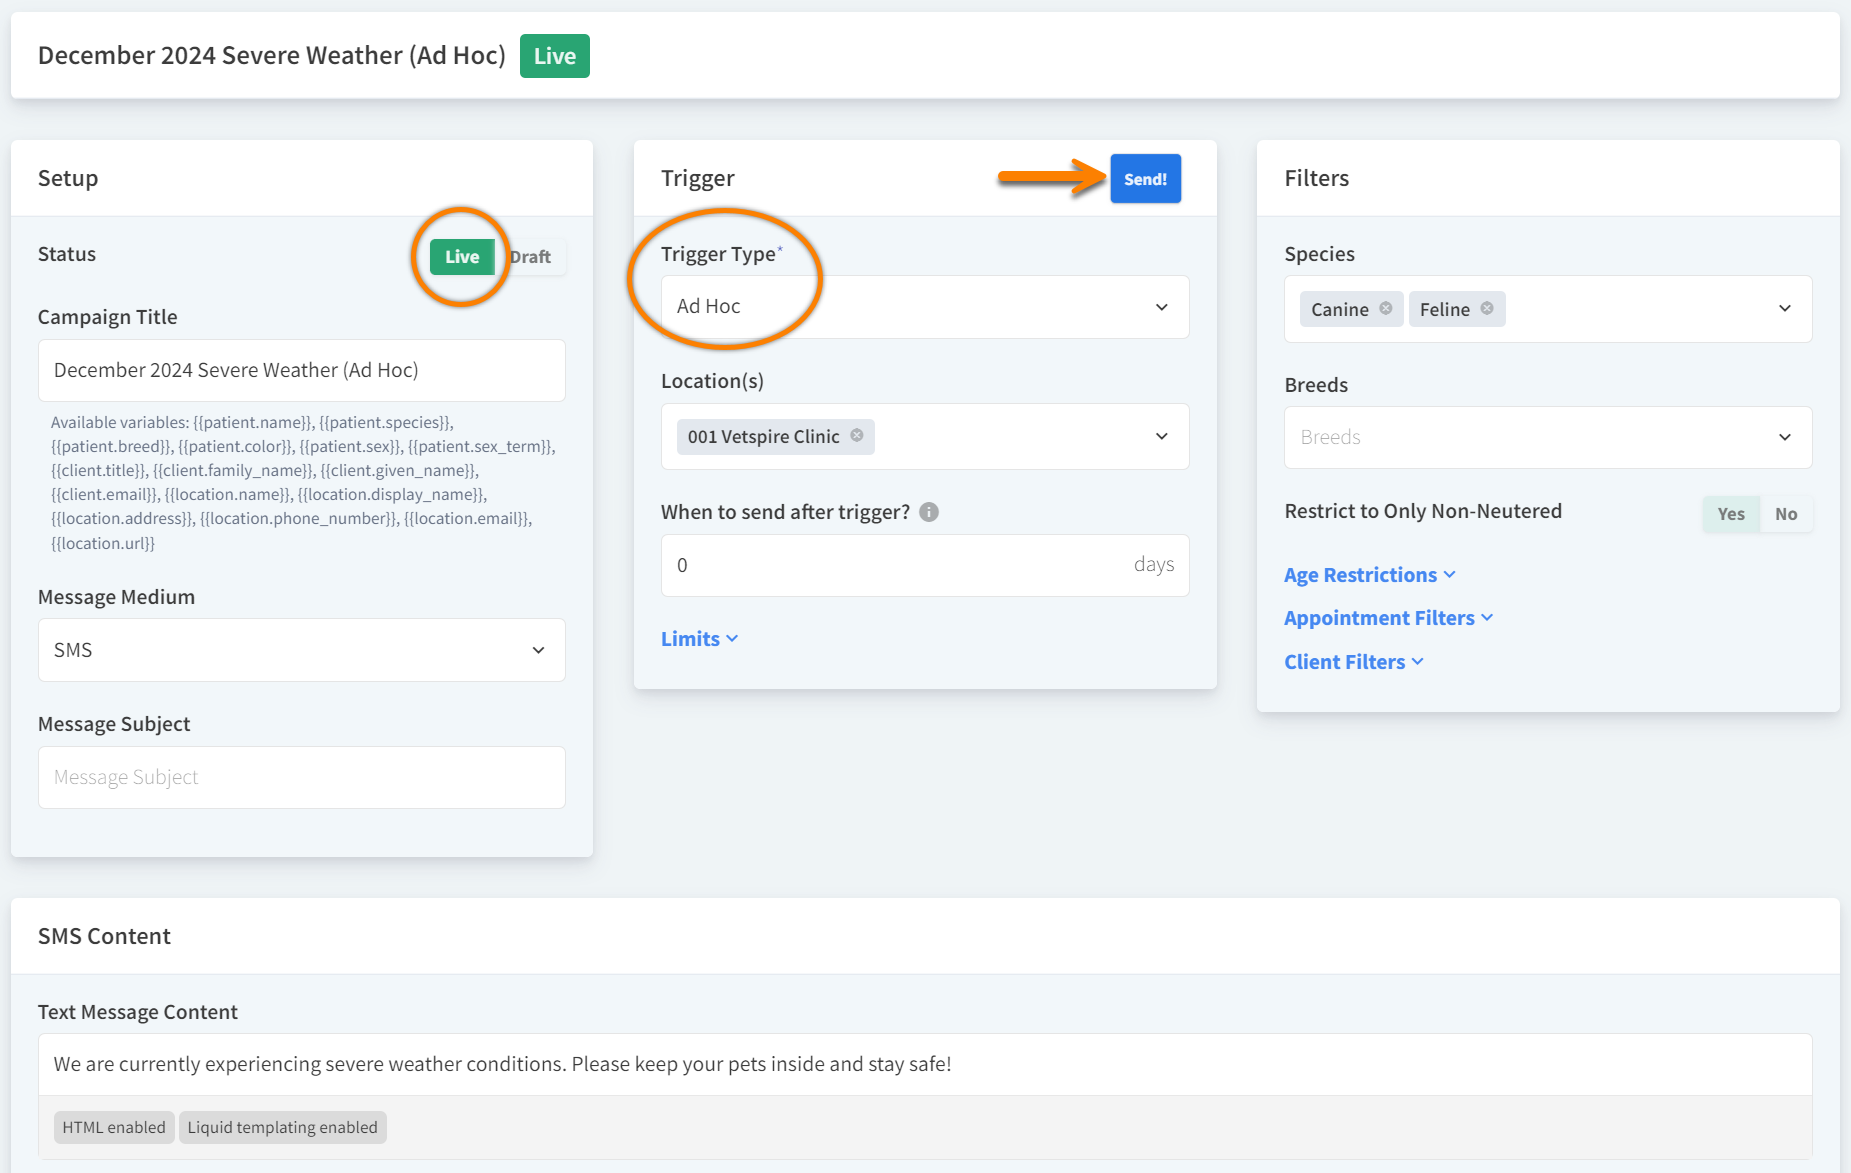
Can I create a one-time Targeted Message without a Trigger?
Yes! Create a message with the Trigger Type set to Ad Hoc to send time-sensitive information to clients without waiting for a system event to occur. Ad Hoc messages can be sent via email and SMS (text). Once you have composed your message and set the client filters, set the Status to Live and select Send!
Video: Create a Targeted Message Campaign