An event on the Schedule calendar is a time block during which appointments should not be scheduled. Event blocks are designed for administrative purposes, such as lunch breaks, team meetings, or trainings.
Your organization admin can create appointment types for events in More > Admin > Configure > Appointment Types. In the appointment type settings, Is Blockoff is set to Yes for events.

Create an Event
-
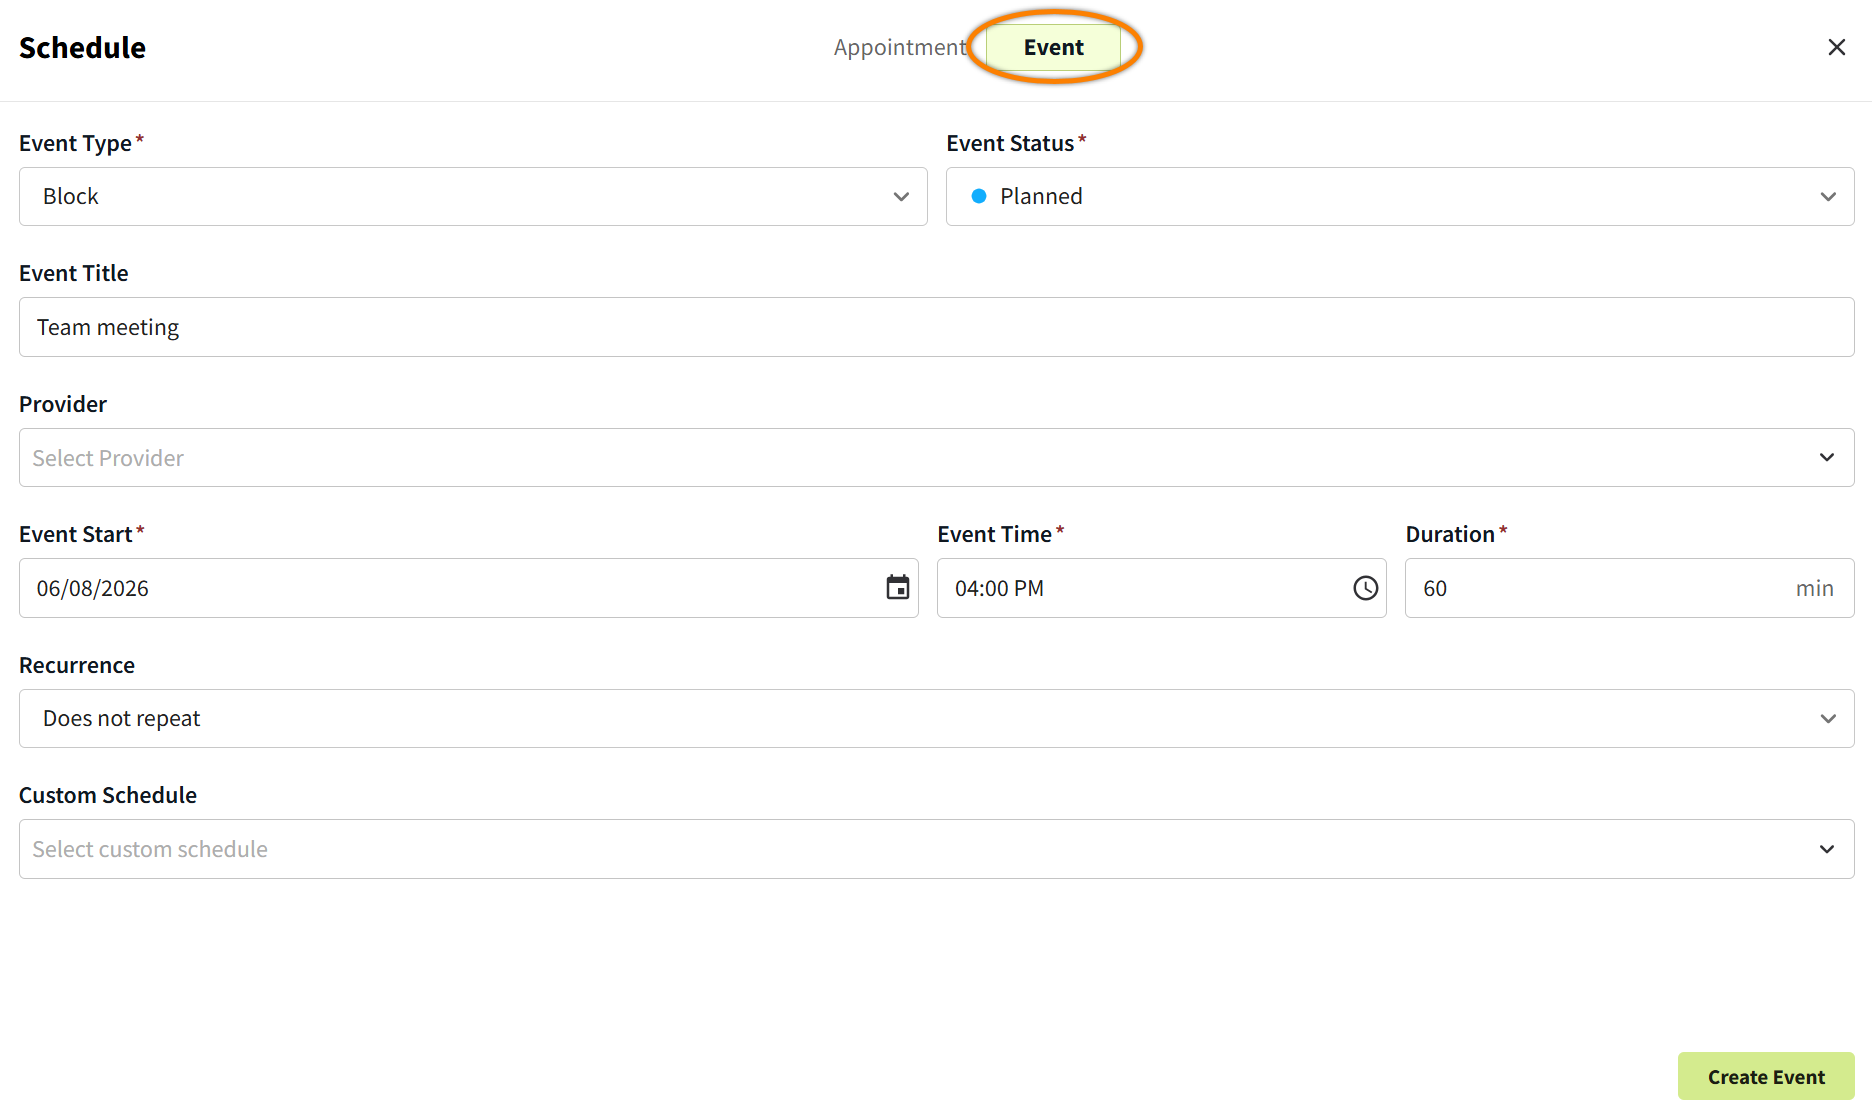
In Schedule, select New Event or select an open time slot on the calendar to open the Schedule window and select Event.
-
Select the Event Type.
The options that display for selection are Appointment Types that are configured with the setting Is Blockoff set to Yes.
-
The Event Status is set to Planned by default.
-
Enter a brief description of the event in the Event Title field (such as “Personal Appointment”).
-
(Optional) Select the Provider or Custom Schedule. If you do NOT select either a provider or a custom schedule, the event will display in the Uncategorized column of the Schedule calendar.
-
Set the Event Start date, Event Time, and Duration.
-
(Optional) For recurring events, select a frequency in the Recurrence field.
-
Select Create Event.
Can I schedule an appointment at the same time as an event or during an event block?
Yes! Vetspire does not prevent you from scheduling an appointment at the same time as an event for a provider or custom schedule.
Edit an Event
In the Schedule calendar, you can drag and drop an event to a new time or to a different provider or custom column.
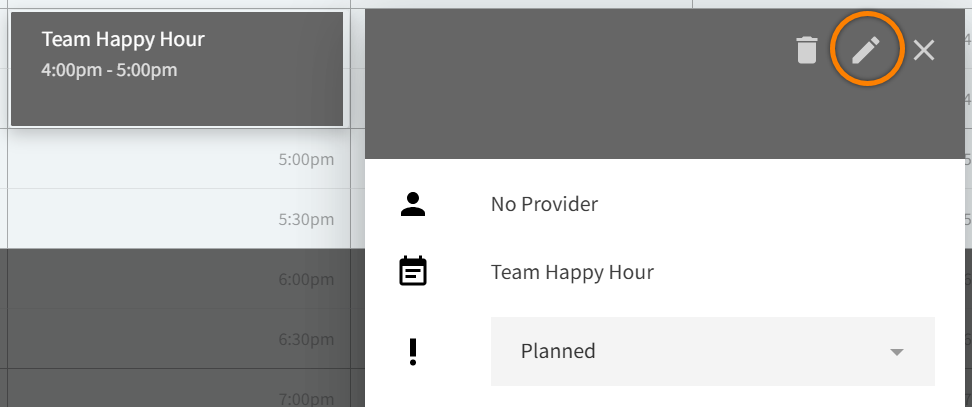
To change the event date or other details (such as the Event Title or the Recurrence frequency), select the event on the calendar and then select the pencil icon to open the Edit Event window.
Notes About Editing Recurring Events
Editing one event in a recurring series will apply the same changes to all future events in the series. For example, if your lunch hour changes from 30 minutes to an hour, you can change the Duration in one lunch event to 60 minutes, and all future lunch events are updated to 60 minutes.
Deleting one event in a recurring series will delete the entire series.