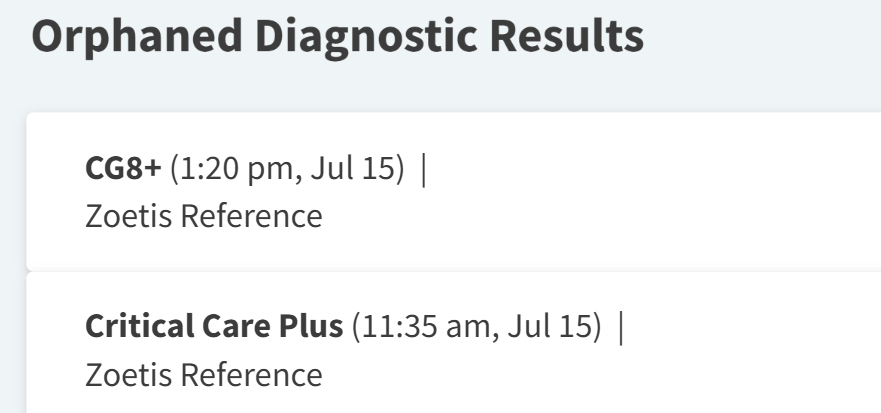
The Orphaned Diagnostic Results section of the Dashboard displays reports from lab and imaging integrations that are not linked to a patient.
There are separate steps to link the results to the correct patient chart based on which integration your practice uses.
Assign Antech Result to Patient
-
Select the orphaned result to open and view it.
-
Open Antech’s Online Portal in a new browser tab.
-
In Antech’s Online Portal, filter the results by date to locate the orphaned result and find the patient it belongs to.
-
Once the results are matched, select Assign to Patient at the bottom of the Orphan Result window in Vetspire.
This action cannot be undone.
Ensure you are assigning the orphaned diagnostic result to the correct patient.
Assign IDEXX Result to Patient
-
Select the orphaned result to open it, then select View Results.
The IDEXX VetConnect PLUS window displays with the patient’s name in the upper-left corner. -
Return to the Orphaned Diagnostic Results section in Vetspire.
-
Select the same result, then select the Assign to Patient search box.
-
Search for and select the correct patient to add the diagnostic result to their Patient Chart.
Assign Dental Radiology Results in Patient Chart
There are additional steps for orphaned IDEXX Web PACS imaging results for dental radiology.
-
Go to Patient Chart > Diagnostic.
-
Open the Radiology - IDEXX_WEBPACS result.
-
Next to Associated Encounter, select the related encounter to link the result to.
-
Repeat these steps for each orphaned diagnostic result.
Tips for Assigning Dental Radiology Results
-
Every dental radiograph taken will become an orphaned diagnostic result. Only link one of the results to the patient.
-
Delete duplicate results that are associated with the same patient.
-
We recommend reviewing each lab integration to confirm that each result is associated with the correct patient.