You can edit, reschedule, and cancel appointments on the Schedule calendar.
Edit an Appointment
On the Schedule calendar, you can drag and drop an appointment to a new time or to a different provider or custom column.
To change an appointment date and other details (such as Appointment Type or Appointment Notes), select the appointment on the calendar and then select the pencil icon.
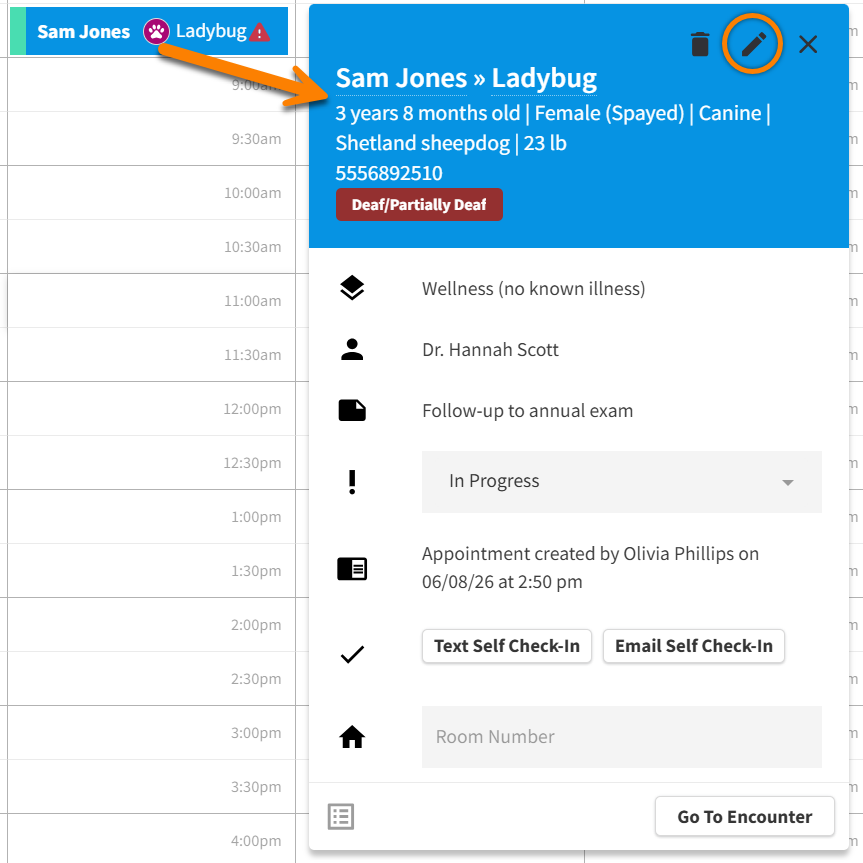
In the Edit Appointment window, expand the Change Log section (at the bottom of the window) to view a history of all changes made to the appointment.
Cancel or Delete an Appointment
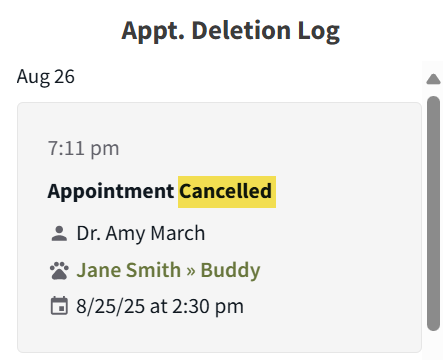
To cancel an appointment, select the appointment in the Schedule calendar, then change the Status to Canceled. The cancellation is recorded in the Appt. Deletion Log in the right-side panel of the Schedule page.
Appointments also display as Canceled and are listed in the Appt. Deletion Log when the client cancels the appointment (e.g., from a link in an appointment reminder message).
Example: Select the Canceled status in the Appointment Details window.

Example: Appointment Deletion Log for a Canceled appointment.
You can also delete an appointment, in case an appointment is created in error. (This feature is permission-based. Please contact your org admin for more information on user role permissions.)
Select the appointment in the Schedule calendar, then select the trash can icon.
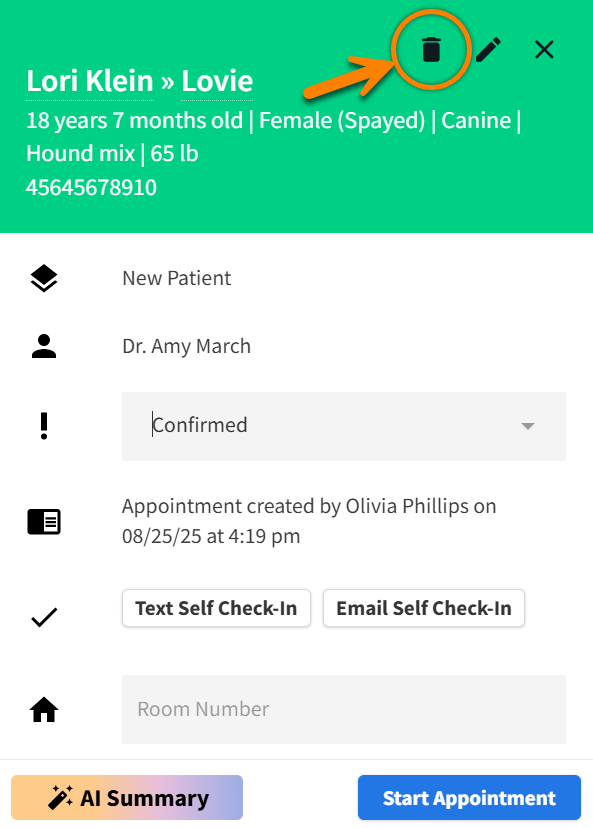
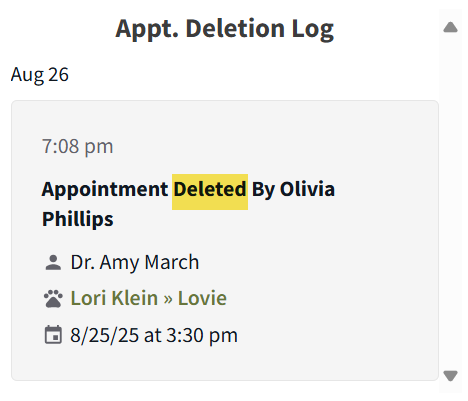
The deletion is recorded in the Appt. Deletion Log to the right of the calendar.
View the Appointment Deletion Log
Select the arrow in the upper right corner of Schedule to view or hide the right-side panel. This panel displays a monthly calendar and the Appt. Deletion Log.
The Appt. Deletion Log displays all appointments deleted within the last 12 months.

No Show appointments display based on your organization preference settings.
An appointment in the No Show status will either remain on the Schedule calendar and be marked with a pink label or will display only in the Appointment Deletion Log. Please contact your org admin for more information.