
Client Phone Numbers and Addresses
Navigate to any client in Vetspire.
Phone Numbers
Duplicate Numbers
Vetspire will indicate a duplicate number if a phone number is on multiple accounts and will pull any numbers associated with the patient in a search.
To edit a Client Phone Number, select a Client or the Clients tab from the Home Page toolbar and select a Client from the Locations list.
Landlines
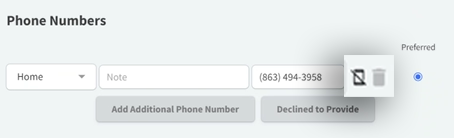
Vetspire will notify users that messages are not sent if the phone number is a landline. After the first message, it will NOT give notice directly in the messages screen but will be indicated under the client information page. This is indicated by a small mobile phone with a slash through it.
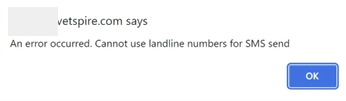
After that initial message, it will notify users if they try to text that landline each time.
Update Phone Number
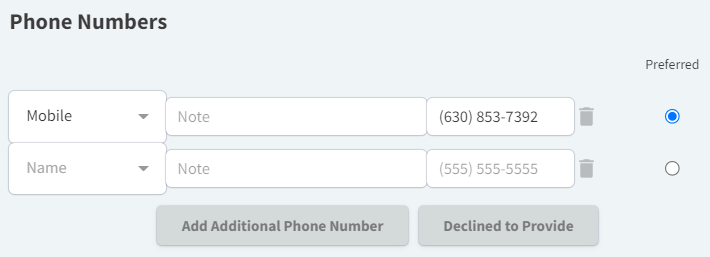
To update phone numbers associated with this account, choose the number type and use the note section to denote more specific information.
Enter the phone number.
EXAMPLE: IF MORE THAN TWO PHONE NUMBERS, SPECIFY TO WHOM THEY BELONG. THIS INFORMATION WILL SHOW ON THE PATIENT BANNER.
Delete Phone Number
To delete a number, click the trash icon.
The preferred number is the phone number shown on the schedule and Patient Banner and is used for all text communications.
Click on the dot next to the number to change the preferred number.
To add additional phone numbers, select ADD ADDITIONAL PHONE NUMBER.
If the client declines to provide any phone number, select DECLINED TO PROVIDE.
Addresses
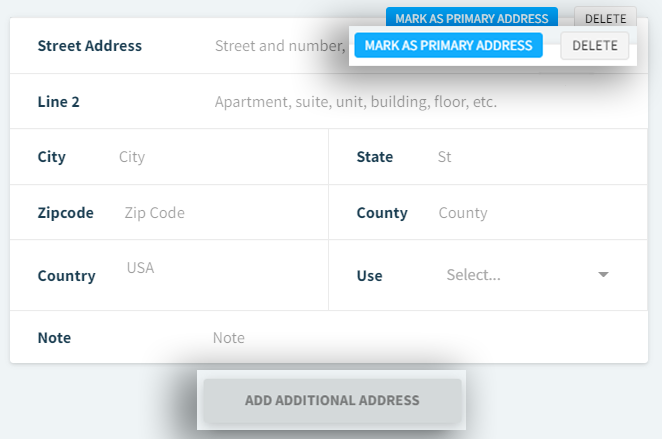
Add one or more addresses to this section.
Click the ADD ADDITIONAL ADDRESS button to add additional addresses such as work, summer house, mailing vs. physical, etc.
Place your cursor inside the address you want to mark as primary to denote the primary address where all physical mail is sent.
Click the light blue MARK AS PRIMARY ADDRESS box to set the address as primary.
A dark blue box will now appear in its place, marking it the PRIMARY ADDRESS.
To delete an address, place your cursor on the address you want to delete and click the gray DELETE button in the top right corner of the address box.
THERE IS NO CONFIRMATION POP-UP; THE ADDRESS CAN NOT BE RETRIEVED ONCE DELETE IS CLICKED