
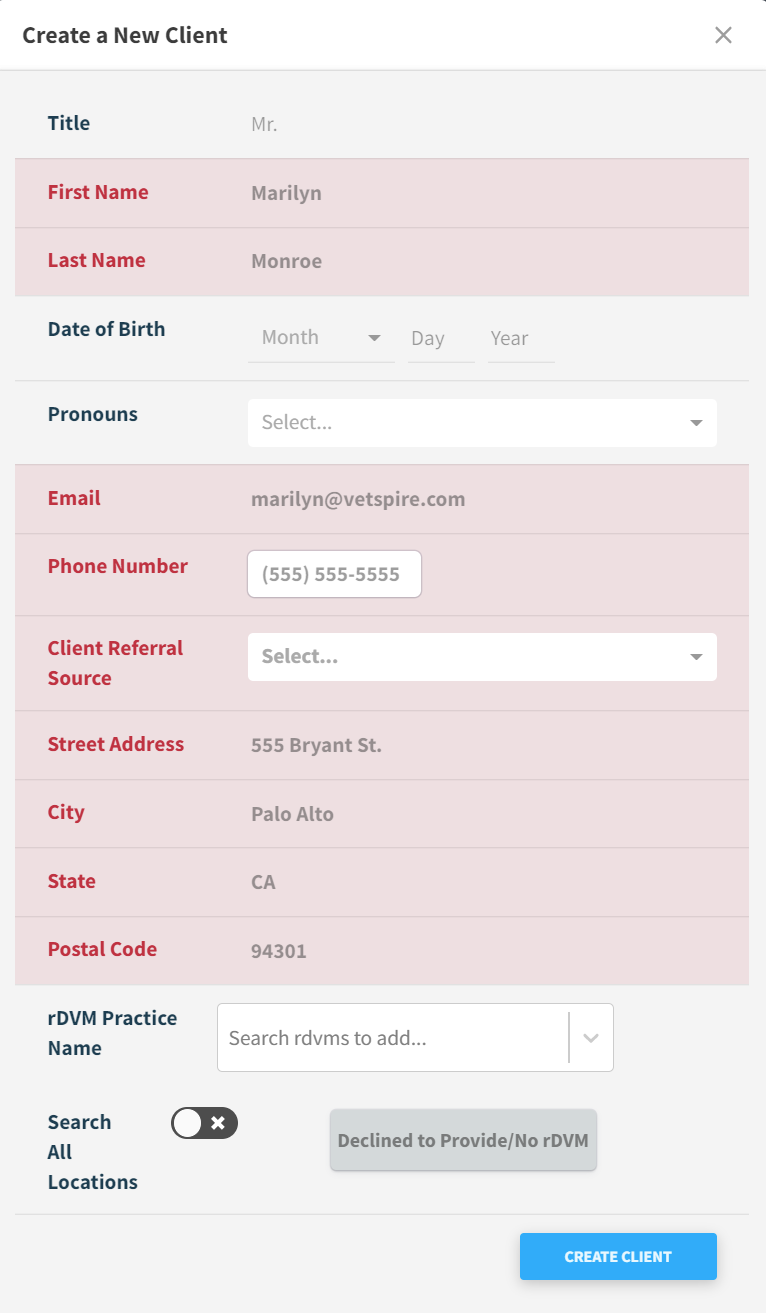
Create a New Client
A new client file is required before creating a new patient file for a new customer. There are three ways to create a new client with a new patient.
Required fields are in red.
From the Clients Tab
Select the Create New Client button.
Complete the required red fields and click CREATE CLIENT.
From the Client Information screen, add more client information if desired or Add a Patient.
From the Schedule Tab
Select the NEW APPOINTMENT button at the top or choose any available time slot on the schedule so the SCHEDULE pop-up appears.
Click the (+) to the right of the search bar.
The Create a New Client screen will pop up.
Complete the required red fields and click CREATE CLIENT.
From the Client Information screen, add more client information if desired or Add a Patient.
A PROMPT TO RETURN TO SCHEDULE THE APPOINTMENT WILL APPEAR AFTER CREATING A NEW CLIENT. EITHER CONTINUE TO SCHEDULE OR CANCEL OUT OF THE SCHEDULING PROCESS. THE CLIENT INFORMATION WILL AUTO SAVE.
From the Flow Tab
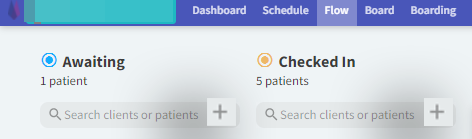
Click the (+) next to either search bar under Awaiting or Checked In.
The Create a New Client screen will pop up.
Complete the required red fields and click CREATE CLIENT.
From the Client Information screen, add more client information if desired or Add a Patient.
A PROMPT TO RETURN TO SCHEDULE THE APPOINTMENT WILL APPEAR AFTER CREATING A NEW CLIENT. EITHER CONTINUE TO SCHEDULE OR CANCEL OUT OF THE SCHEDULING PROCESS. THE CLIENT INFORMATION WILL AUTO SAVE.