Create an Estimate
BEST PRACTICE: WHEN A PATIENT IS IN THE CLINIC, BUILD THE ESTIMATE FROM THE ENCOUNTER. WHEN THE PATIENT IS NOT IN THE OFFICE, BUILD THE ESTIMATE THROUGH THE BILLING TAB.
Navigate to Financials > Estimates under Accounting on the left-hand side of the screen.
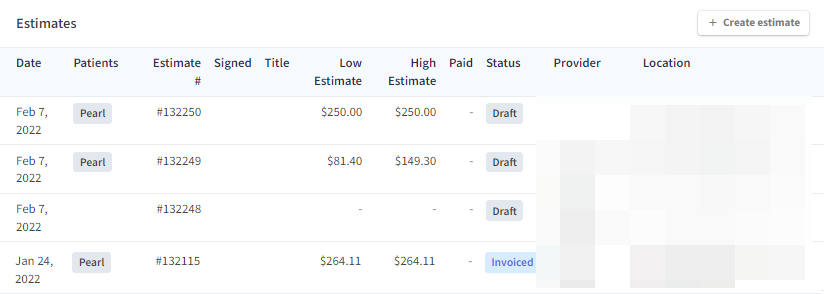
Create an Estimate - Patient NOT in Office
Navigate to the patient chart and select the Billing tab.
Select the New Estimate button from the top of the window OR
Scroll to the Estimates section. Click to open, review, or edit previously created estimates or select the Create Estimate button to create a new estimate.
OPTIONAL: SELECT THE PROVIDER. THE PROVIDER IS NOT A REQUIRED FIELD. SIMPLY SAVE TO BEGIN CREATING THE ESTIMATE.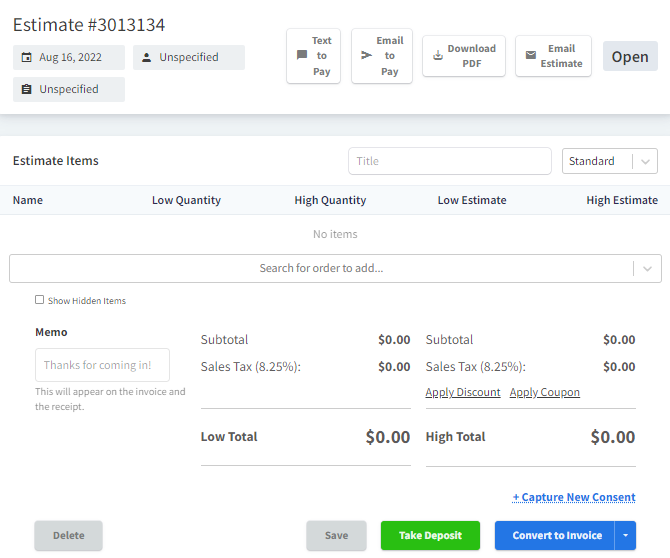
Title the estimate.
Select the estimate type from the dropdown. Choose from Standard, Surgery, or Oncology.

Input the items needed through the orders bar.
TIP: IF SELECTING A PACKAGE, ADD THE FULL PACKAGE OR DESELECT UNNECESSARY ITEMS.Enter the Low and High Quantity items. Depending on the location, code by minute or hour.
Apply Discounts or Coupons to reflect in the total.
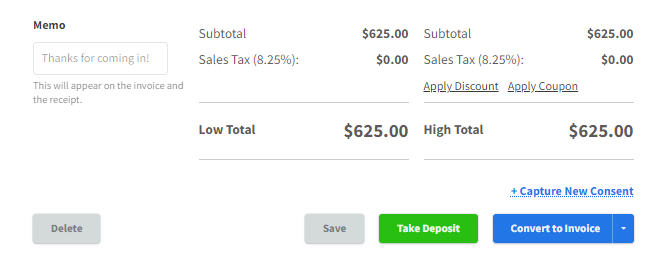
Select Capture New Consent to Text, Email or Print the new estimate.
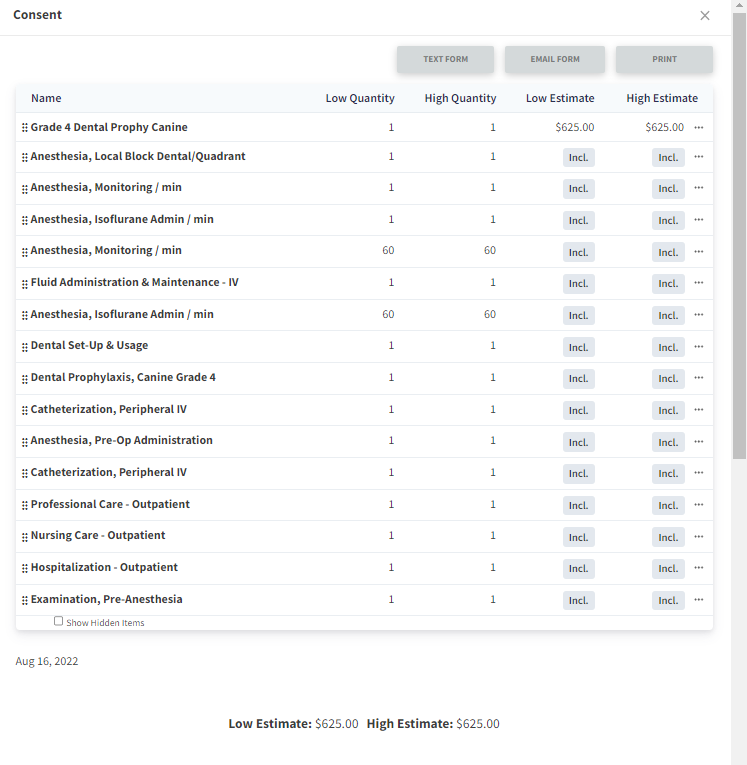
Create an Estimate - Patient in Office
Navigate to the patient chart and start the encounter.
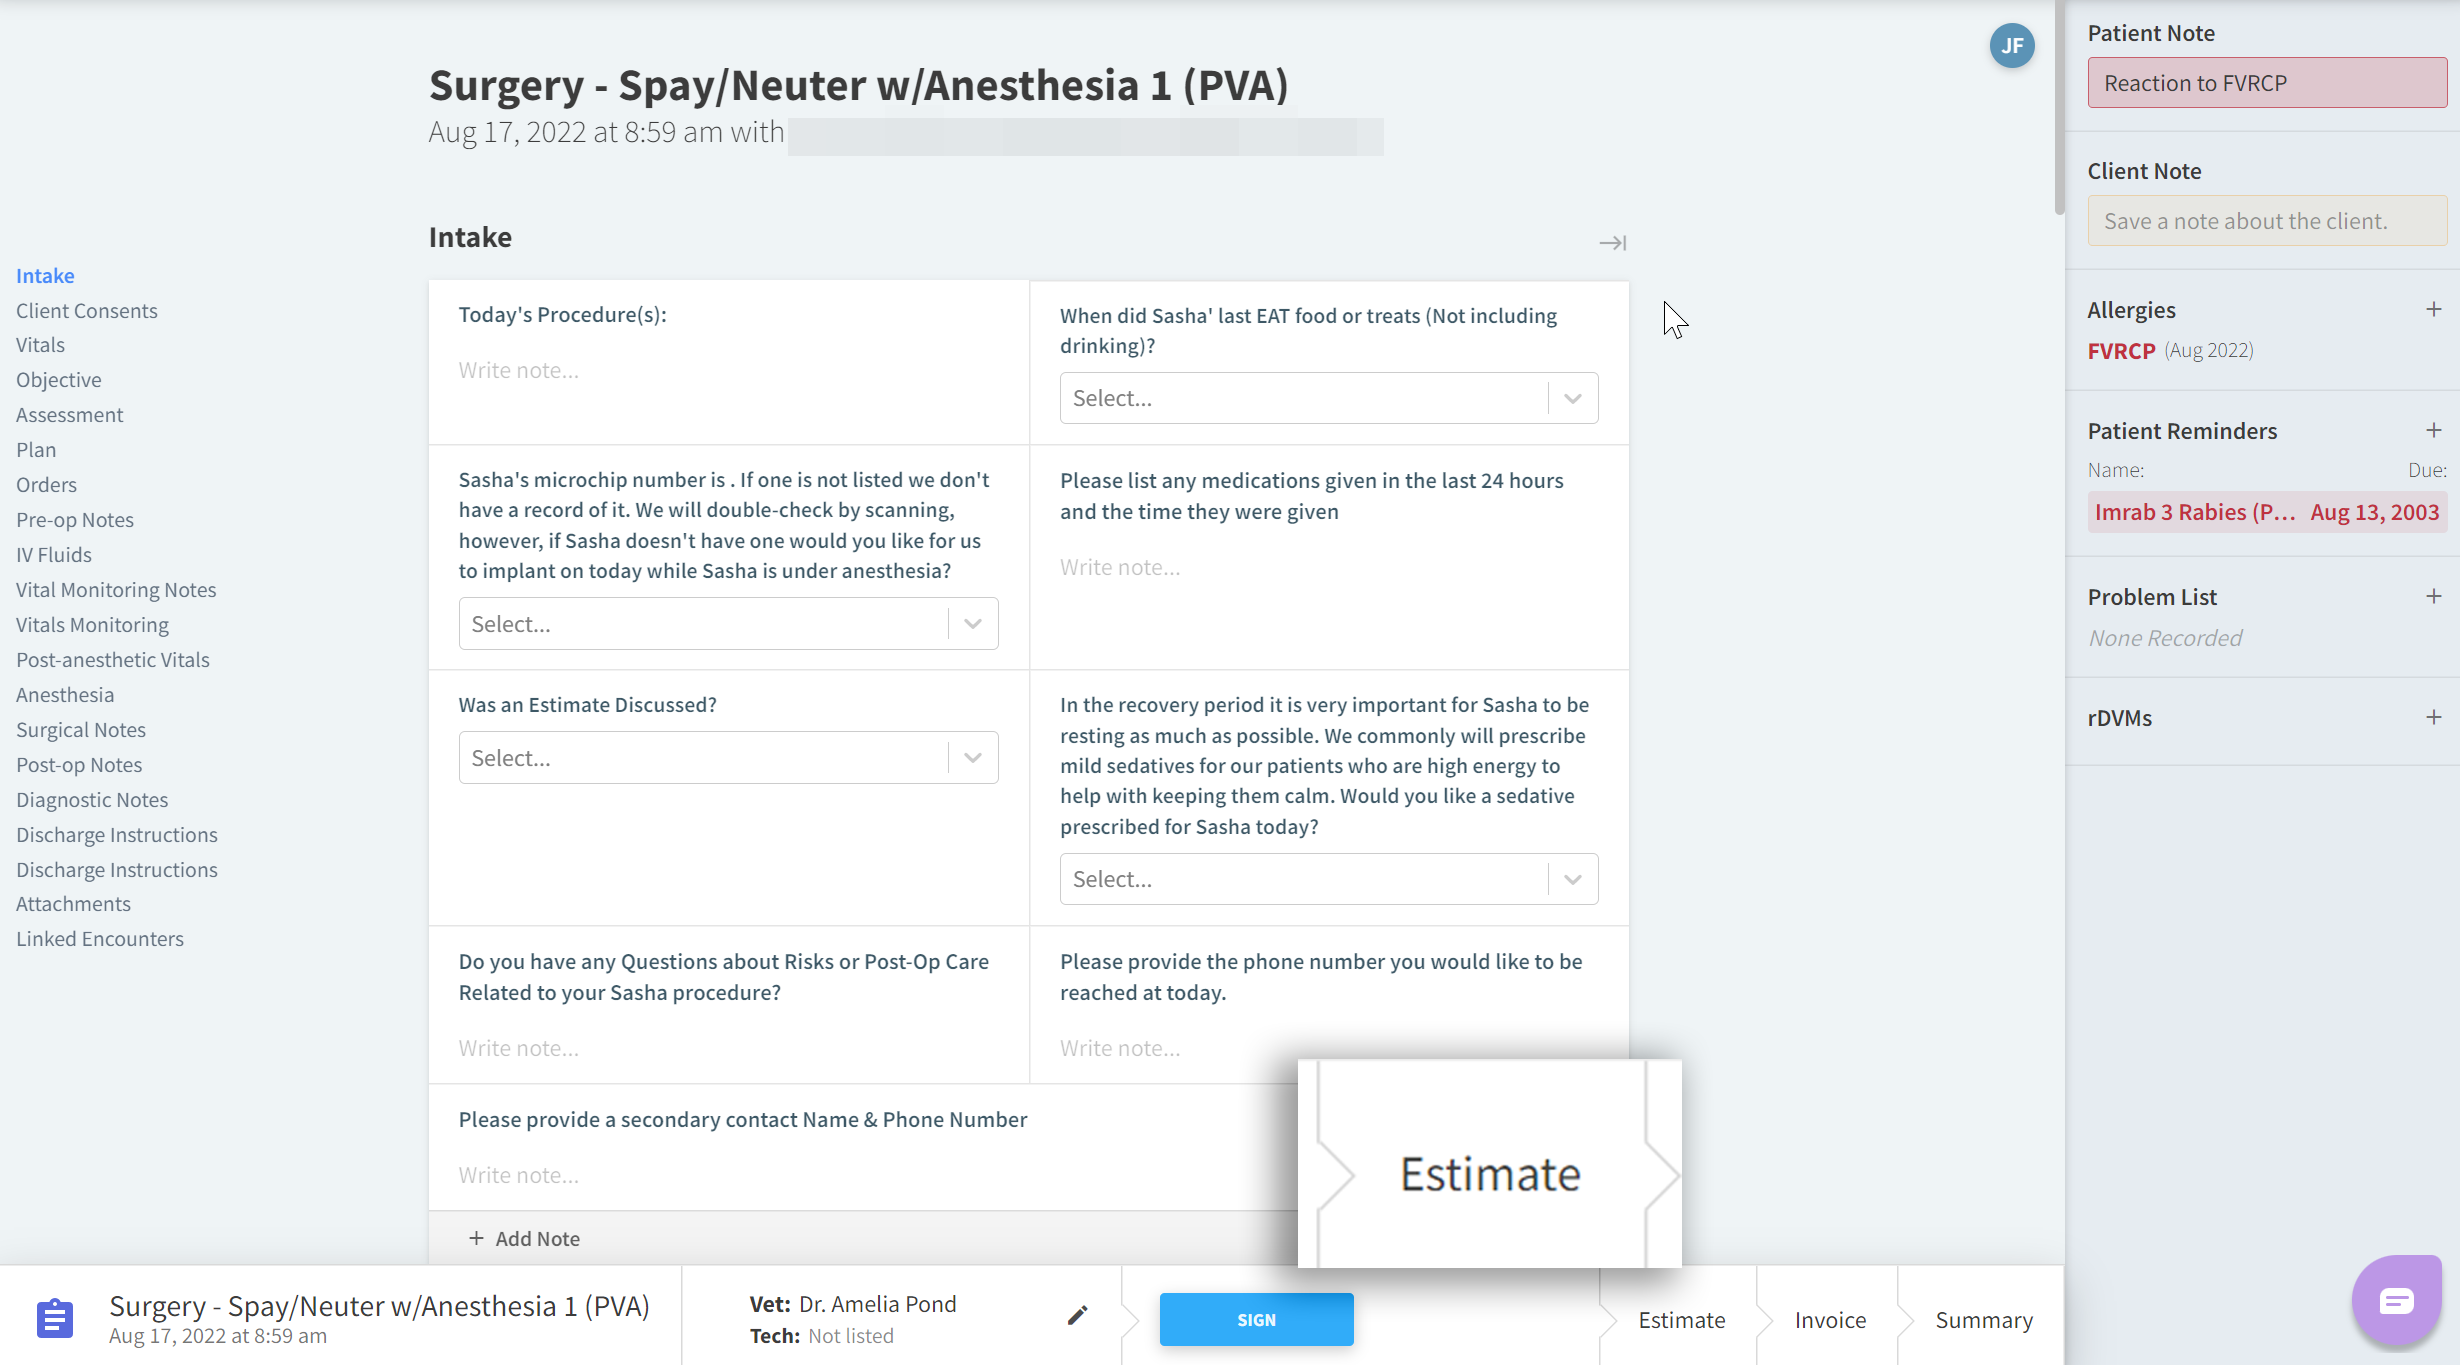
From the footer, select Estimate.
Continue from step 3 above.
Once the Estimate is created, review it with the client.
Items may be marked as declined by selecting the ellipses next to the item.
Click the ellipses again to Undecline an item.
Have the client sign using a touch screen and select Finish.
Add a Memo if desired.
Select Save or Take Deposit to place credit on the account. Any credit placed through this process will not count against any amounts DUE on a client account.
