Mass Upload/Change Products
The Mass Upload/Change Products feature enables you to add and manage your products in bulk. Through the CSV upload process, you can enable new product codes, edit product details, update inventory counts, change location-specific pricing and tax information, and more!
To get started, go to More > Inventory & Services > Tools > Products Upload.
Before You Get Started
The Vetspire Manual includes more information on data included in the CSV and troubleshooting tips for importing your updated CSV into Vetspire:
Step 1: Download Template
Our pre-formatted Product CSV template enables the system to map your products and product details to your inventory in the Vetspire app.
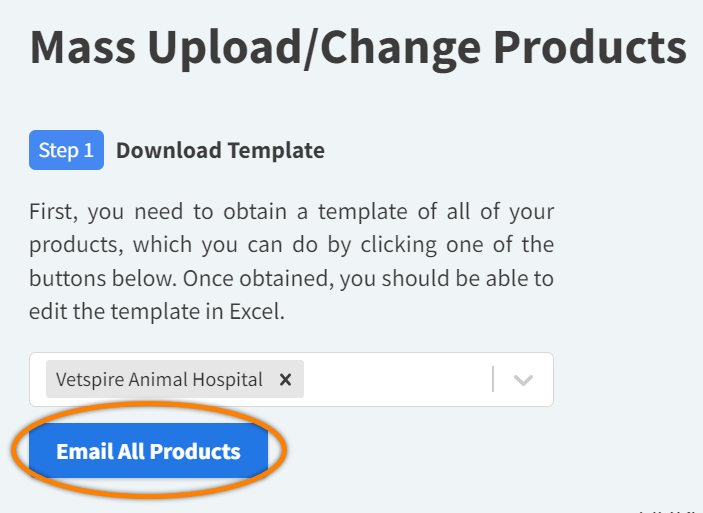
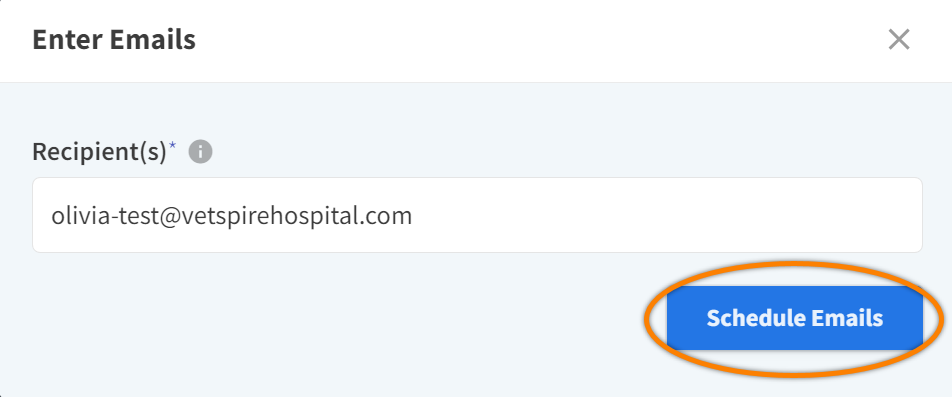
To download the CSV template, select Email All Products. This opens the Enter Emails window, where you can enter the recipient’s email address or specify multiple recipients by entering multiple addresses separated by commas. The Recipient(s) field auto-populates with the logged-in user’s email address.
Select Schedule Emails to send the CSV.


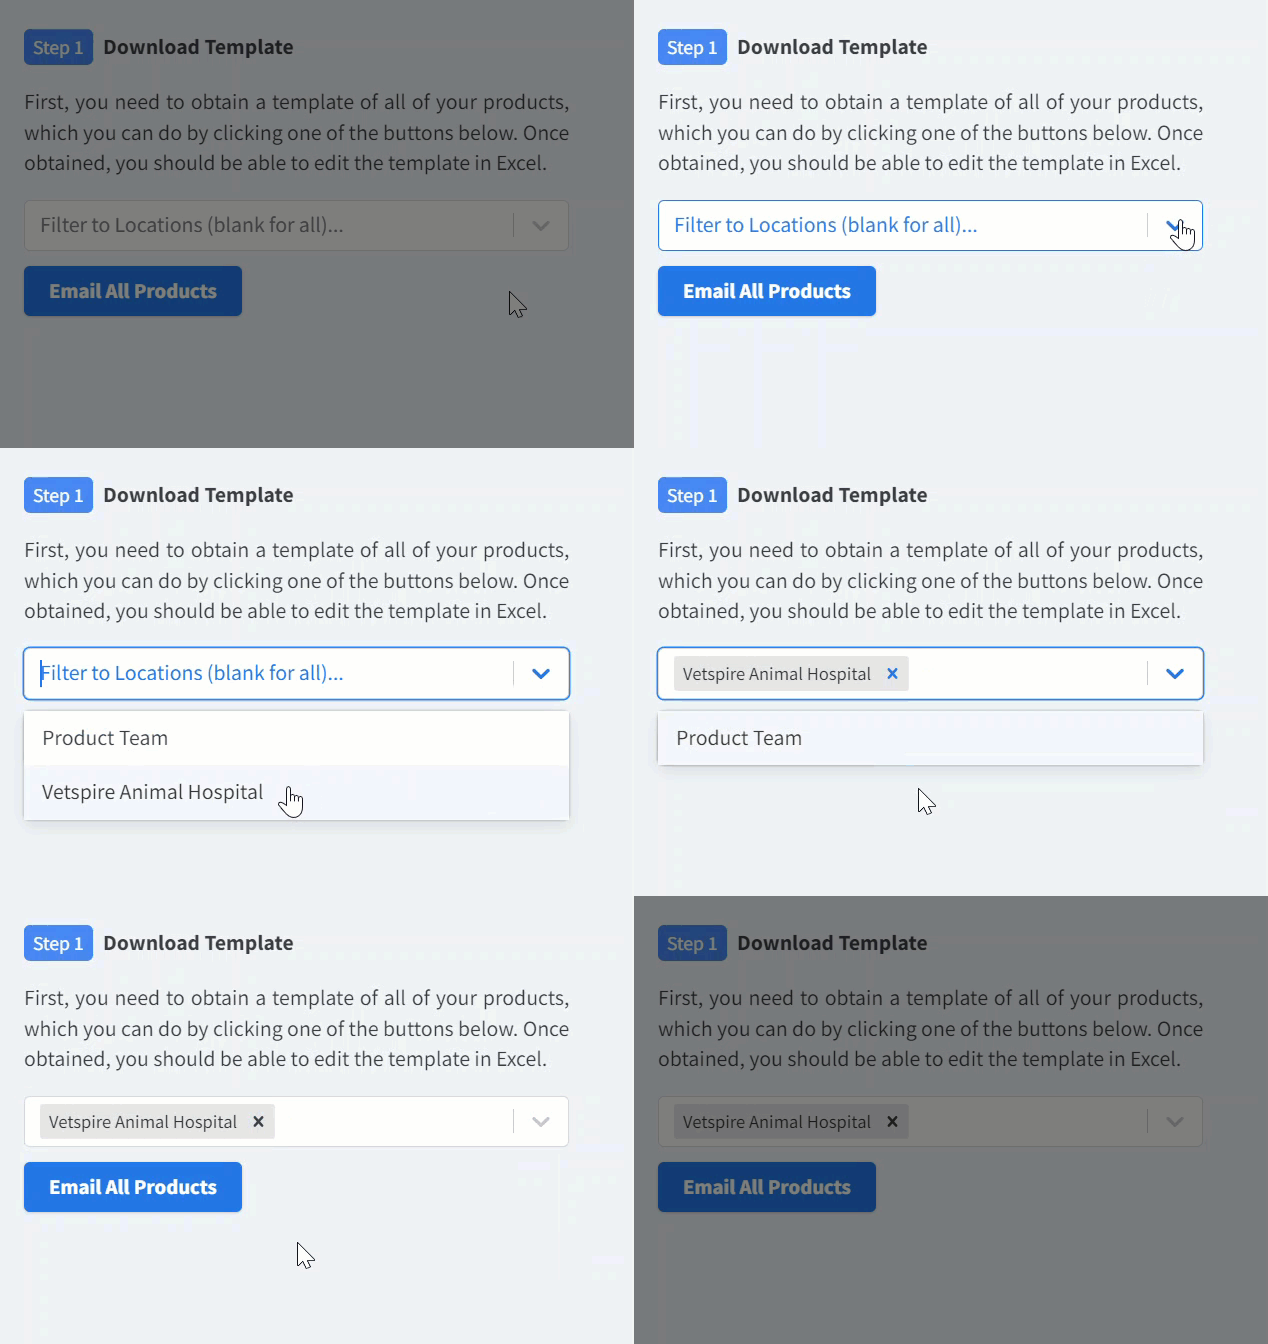
Filter to Locations
The CSV file downloaded in Step 1 includes all products for your organization, and there are location-specific columns for pricing.
If your practice has multiple locations, we recommend selecting one location from the Filter to Locations drop-down menu in Step 1 to export a smaller file size.
When you select one or more locations in the Filter to Locations field, the Product CSV will still include all of your organization’s products, not just the products that are active for the selected location(s).

Step 2: Make Edits
Download and open the Product CSV from your email. The Product CSV includes all of your products that have been added to Vetspire. See Product CSV Columns Reference for definitions of each CSV column.
All changes that you make to the CSV template will apply to your inventory in Vetspire when you re-upload the file in Step 3. There are important things to note when adding the CSV:
Do not delete any columns.
Do not change the column headers. Vetspire cannot process your changes without the pre-formatted headers.
Do not change any of the Vetspire IDs in the id column. The system uses these unique identifiers to locate and update your products.
Adding a row creates a new product in Vetspire. Leave the id column blank for new products.
Deleting a row does not delete the product in Vetspire. To delete a product, enter TRUE in the deleted column. Once a product is deleted, this action cannot be undone.
Each product must have a type. You cannot create a new product type through the Mass Upload/Change Products feature. If the spelling of the type in the CSV does not exactly match the spelling of the product type as it is in Financials > Manage > Types, the re-upload of the CSV will fail.
Step 3: Upload
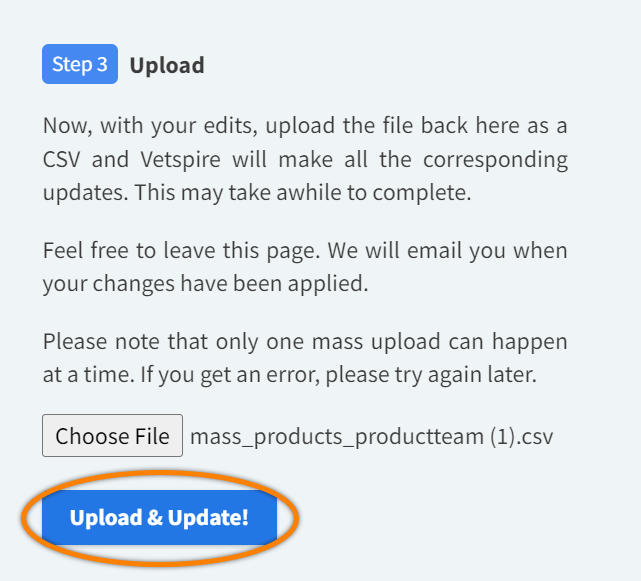
Save the edited CSV file to your local drive. In Vetspire under Step 3, select Choose File, select the CSV from your file explorer, then select Upload & Update! Vetspire will then apply all of your product changes to your inventory. You will receive an email when the process is complete.

Having issues with importing the updated CSV file?
See our Product CSV Troubleshooting Tips to resolve common issues.
