
Schedule Through the Patient Chart
Search for a Client or Patient from the Home Page using the top toolbar on the far-right side.
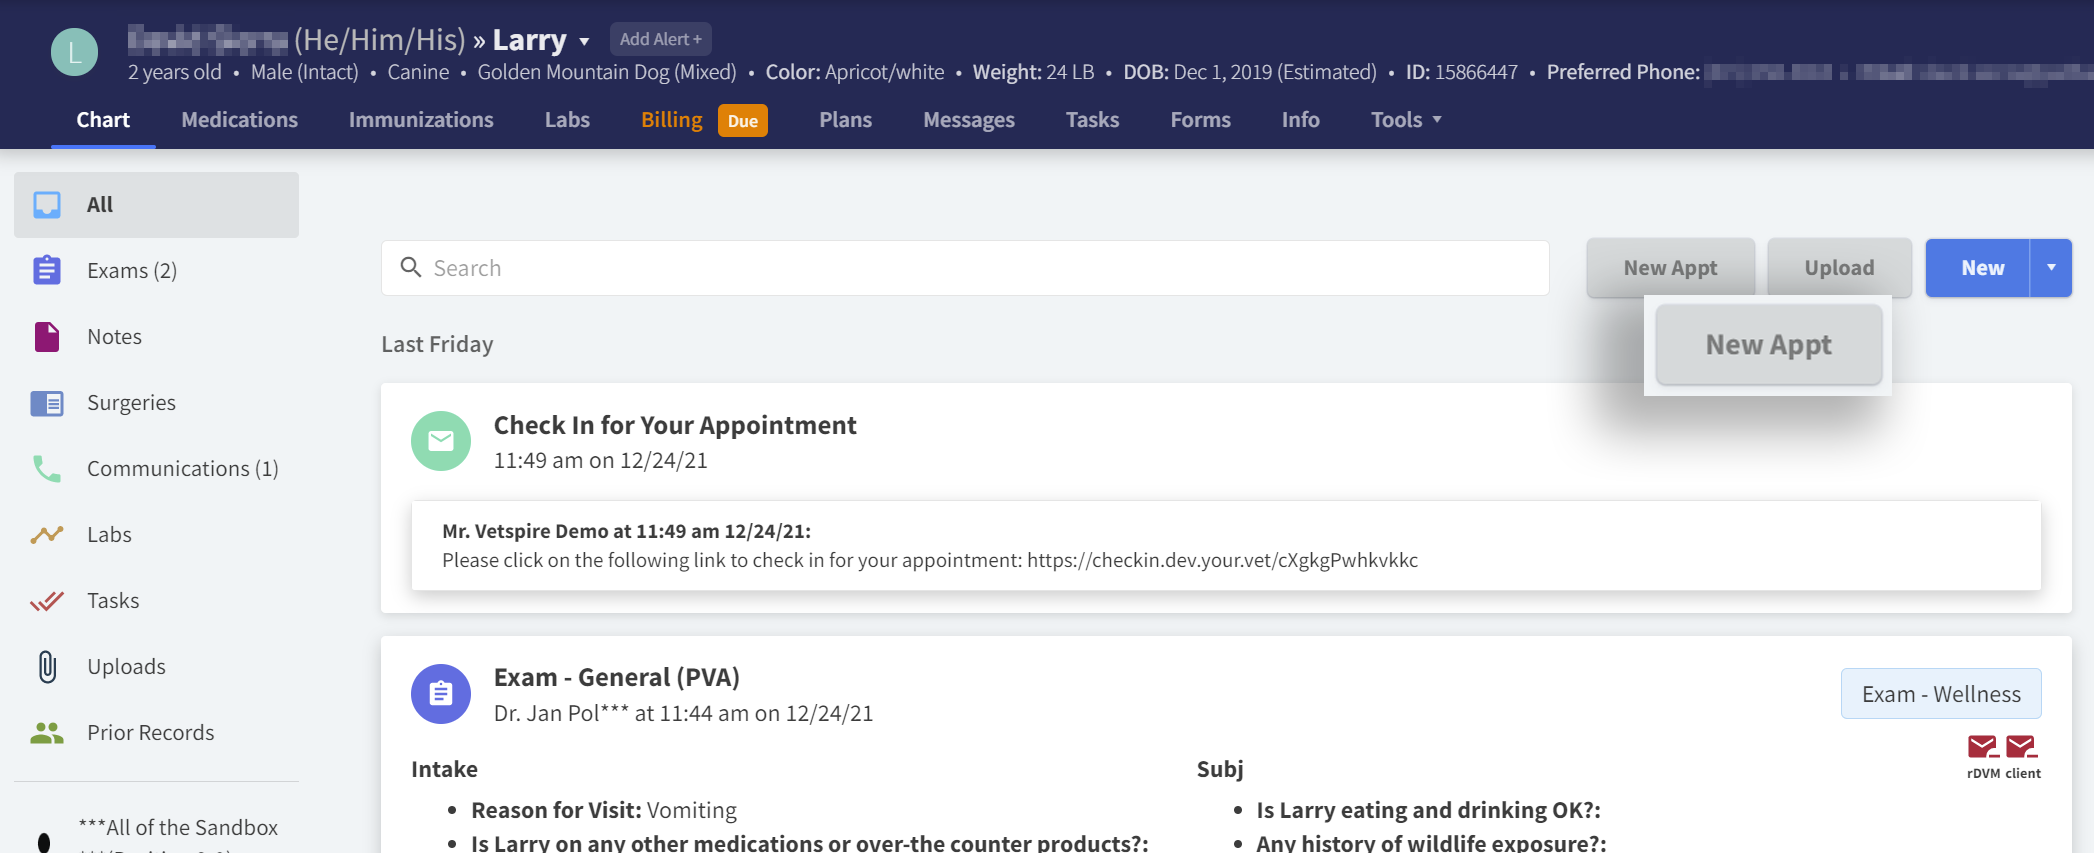
View the patient’s history to determine the reason for the visit and define the appointment type.
From the chosen patient Chart, select the New Appt button.
Verify the patient information.
Choose the appointment Type.
Select Search under Date & Time to view the provider’s available booking times and days, and select the preferred day and the time under the provider.
Verify the Provider is correct. Place the appointment in the appropriate column if it does not require a provider.
EXAMPLE: TECHNICIAN APPOINTMENT COLUMNEnter the Reason for Visit and check the box to Send Confirmation.
Select BOOK! to save the appointment.
The Appointment Status defaults to Planned.
OPEN CIRCLES INDICATE AVAILABLE DAYS.
GRAYED-OUT DAYS INDICATE NO AVAILABILITY.
THE RESOURCE COLUMN WILL POPULATE ON THE SCHEDULE IF A RESOURCE IS MANUALLY SCHEDULED.