Each practice is unique! You may need to record additional data for clients and patients that is not already in Vetspire. In More > Admin > Configure > Custom Fields, you can create custom client and patient information fields that are completed when adding a new profile. Additionally, you can create custom appointment information fields that display on the Schedule Appointment window when booking a patient through Schedule or Patient Chart.
Custom fields are not required when creating a new client or patient or when creating an appointment.
Create a Custom Client or Patient Information Field
In your Custom Fields settings, select either Create Custom Client Field or Create Custom Patient Field to get started.
-
Enter the Name of the field.
-
Select the data Type for the field: Text, Date, Number, or Yes/No.
-
(For Patient Information Fields) For the ‘Include on Appointment modal?’ option, select INCLUDE to add the custom field to the Schedule Appointment window.
-
Select CREATE FIELD.
Examples:
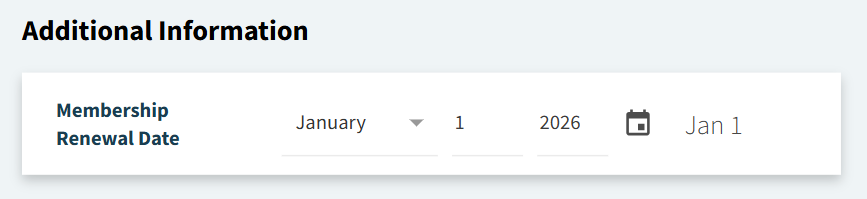
Custom client fields display in the client profile under Additional Information.
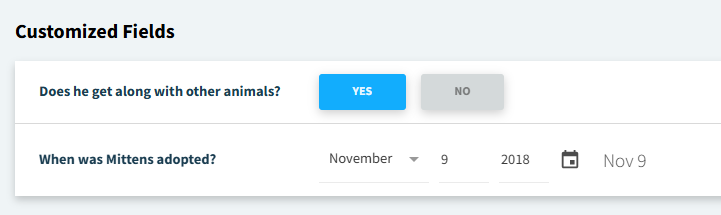
Custom patient fields display in Patient Chart > Info > Customized Fields.
Video: Custom Client Information Fields
Video: Custom Patient Information Fields
Create a Custom Appointment Information Field
-
Go to More > Admin > Configure > Custom Fields.
-
Select the Create Custom Appointment Information Field button.
-
Enter the Name of the field.
-
Select the data Type for the field: Text, Date, Number, or Yes/No.
-
For the ‘Include on Appointment modal?’ option, select INCLUDE to add the custom field to the Schedule Appointment window.
-
Select CREATE FIELD.
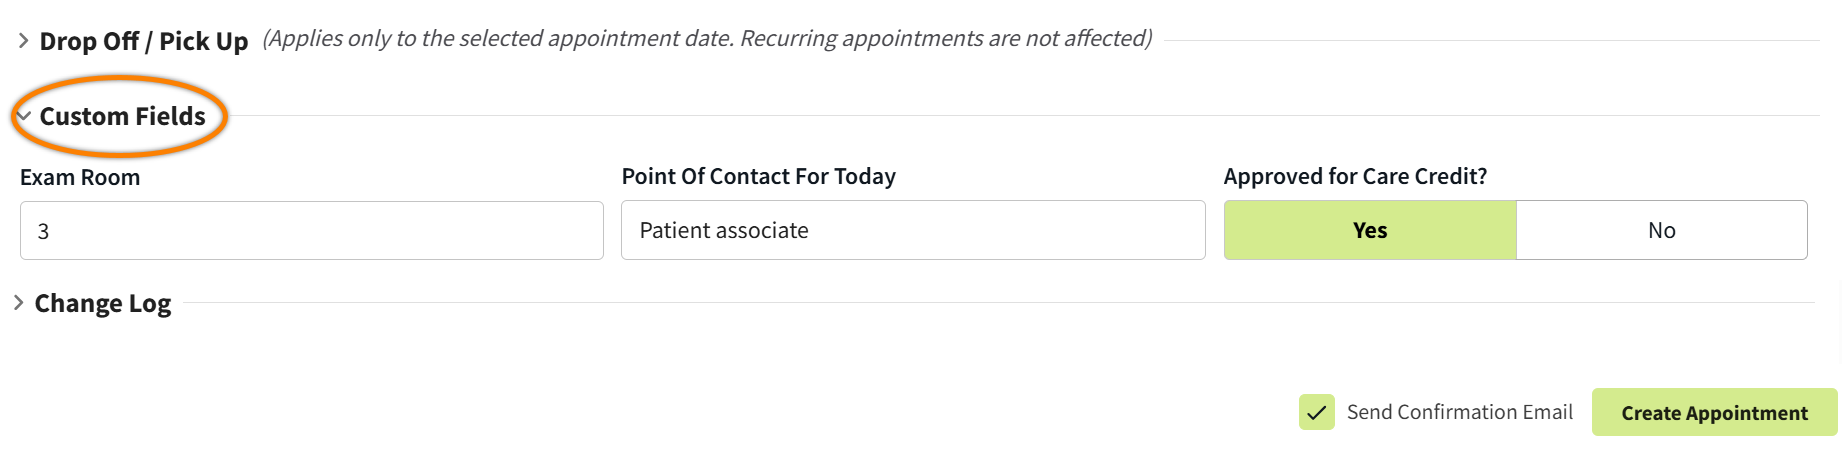
Example: In the Schedule Appointment window, expand the Custom Fields section to view and enter information in your org’s configured fields.