A visit in Vetspire is designed to be a container for a patient’s appointment/encounter, NOVASheets, notes, documents, and other components of the medical record that are updated during their time in your hospital’s care. Whether the patient is in the hospital or out in the field, staying for multiple days or discharged the same day they are admitted, the visit makes it easy to see everything associated with the patient and the care they receive during their time spent with your team.
How It Works
-
A visit can be started from the appointment tile on the Schedule calendar or on Flow.
-
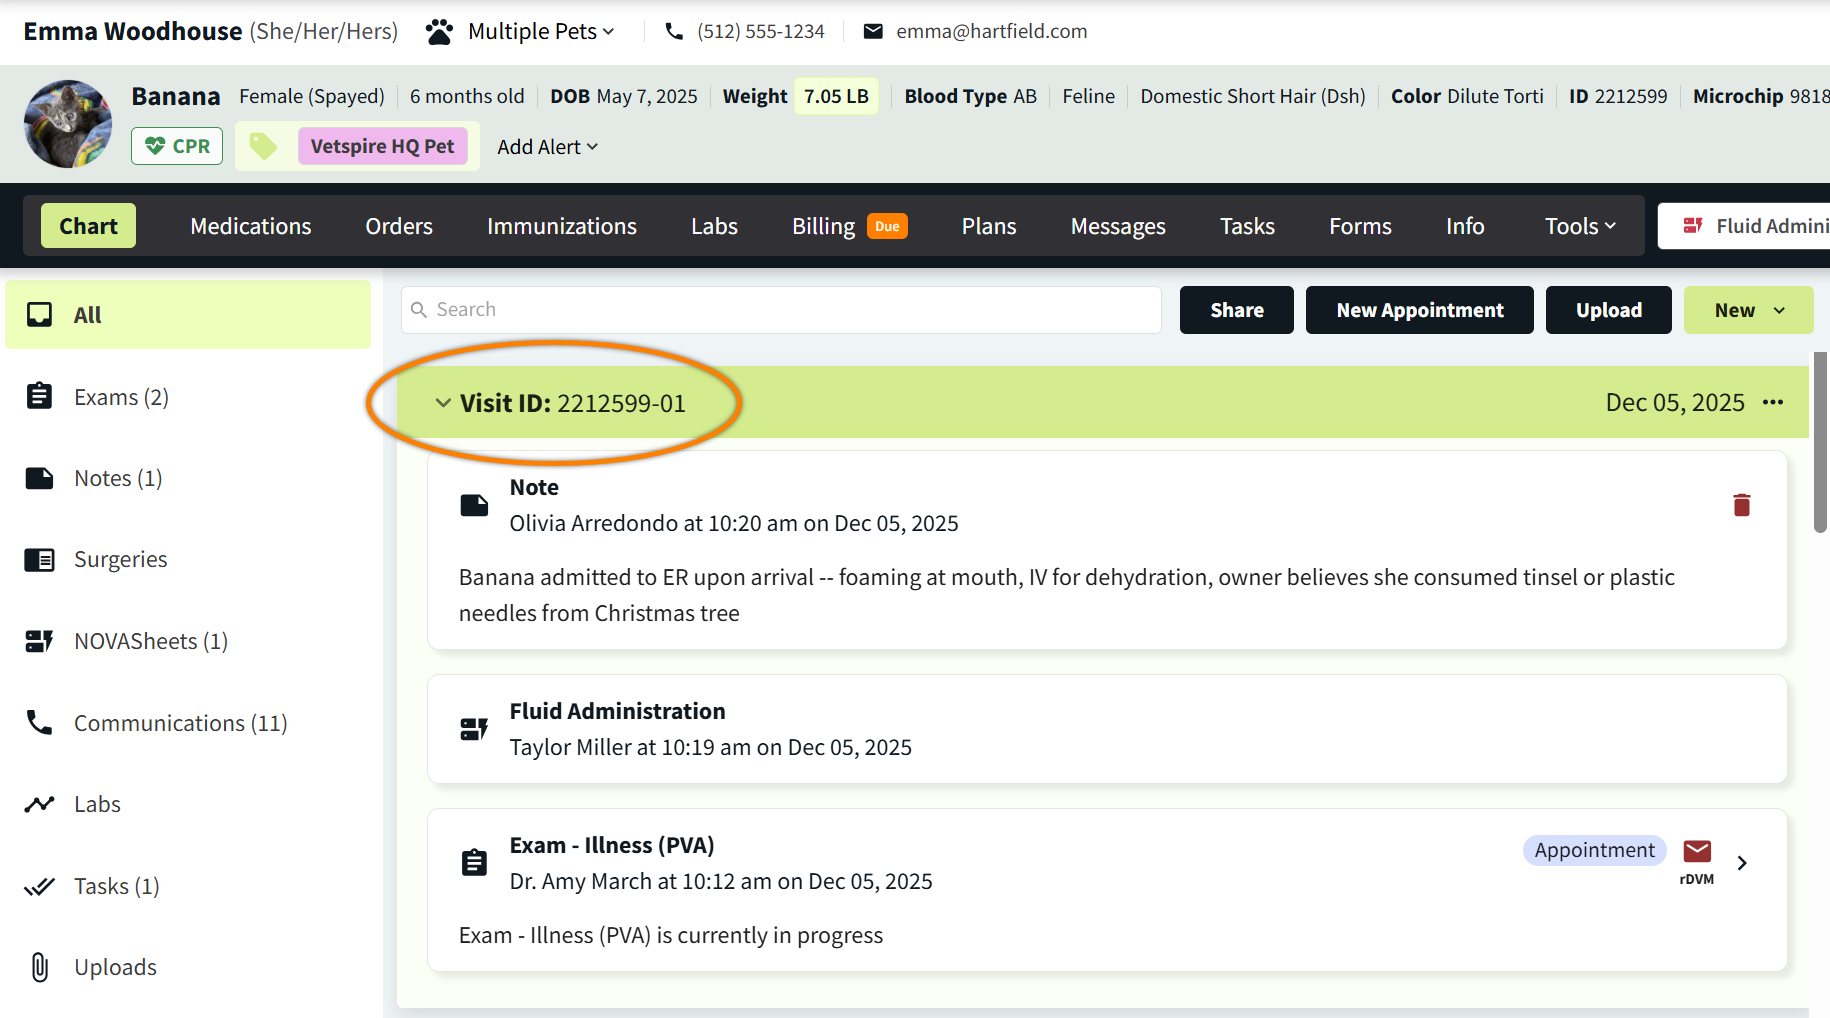
Each visit is assigned a unique ID in the format of [Patient ID]-[patient’s visit number], such as 1234567-01.
-
All components of a patient’s medical record that are opened/updated during a patient’s active visit are associated with the Visit ID, including encounters, NOVASheets, notes, client communications, diagnostic results, tasks, uploads, and rDVM records. These display in a collapsible drawer on the timeline of Patient Chart.
-
You can add components of the patient’s medical record to the visit and remove components from the visit.
-
You can pin specific components of the visit to the top of the visit record, so that they continue to display in the visit drawer on the Patient Chart timeline when it is collapsed. Pinned items display with a visual indicator


How to Share Visit Record
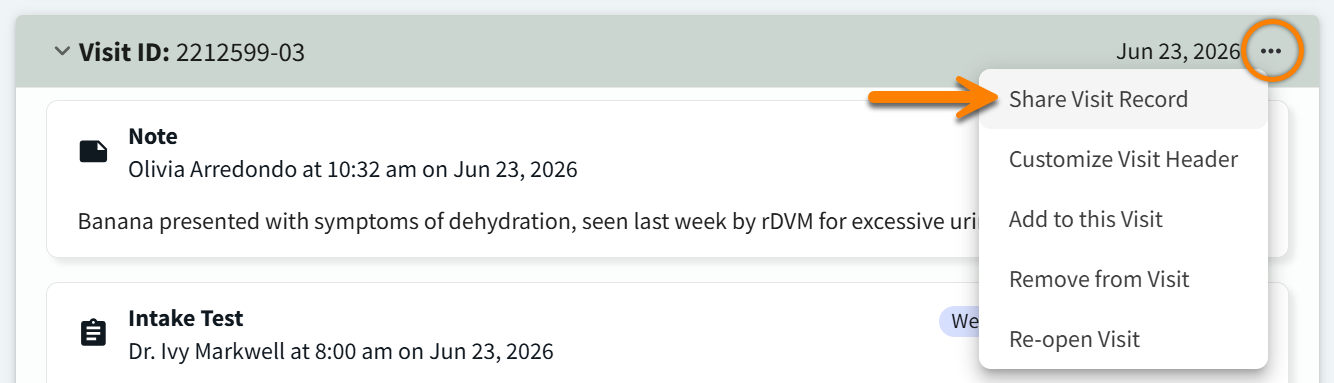
The Email Full Medical Records window is accessible from the visit action menu in Patient Chart (Share Visit Record), enabling the downloading and sharing of all visit components. The start and end date fields in the Email Full Medical Records window automatically populate with the start and end dates of the visit.
-
You can select Share Visit Record for both open and closed visits.
-
Visit records can be shared with any specified email addresses. By default, the client’s email address automatically populates the Email field in the Email Full Medical Records window.
Start a Visit
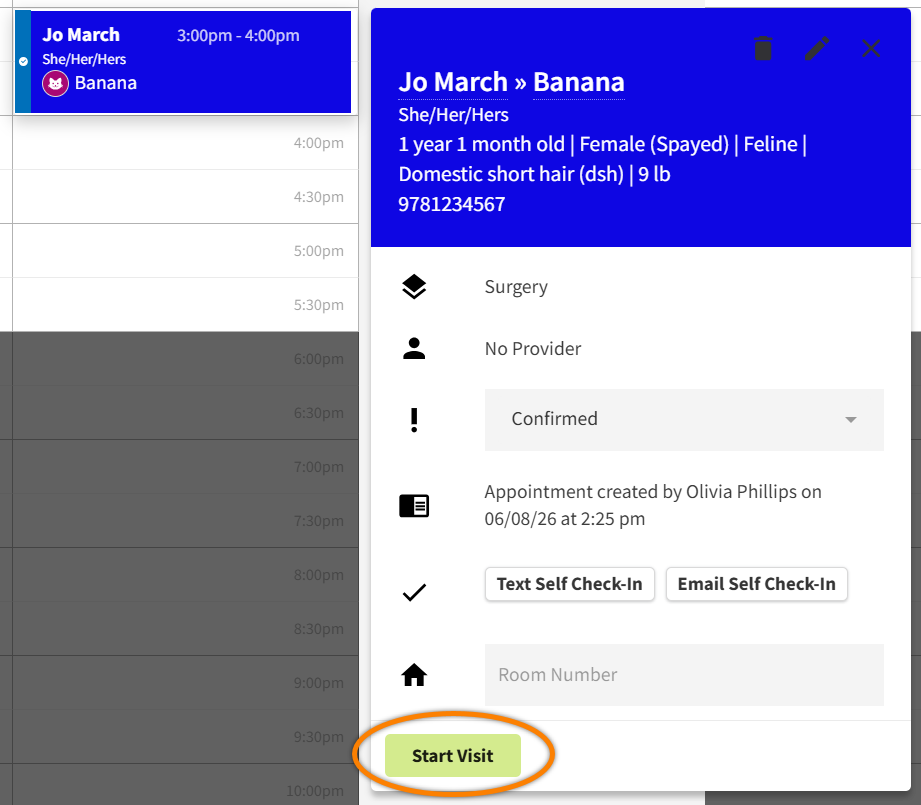
You can start a visit from Schedule or Flow. Starting the visit automatically directs you to the patient’s encounter, which uses the encounter type associated with the visit’s selected Appointment Type. If the Appointment Type does not have a linked encounter type, the system will use the default encounter template for the appointment.
Starting a visit also generates the unique Visit ID, which displays in Patient Chart and is used for the Visits Report in More > Analytics.
Schedule: Select Start Visit in the appointment details to navigate to the encounter.
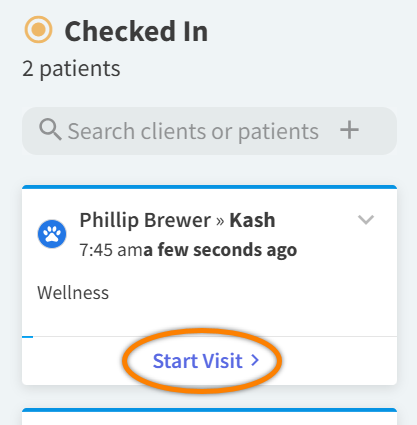
Flow: Select Check In if the appointment has not yet been updated to the Checked In status. When the appointment tile is in the Checked In column, select Start Visit. The system will then navigate you to the encounter, and the appointment tile will move to the In Progress column.
-
Why does the patient’s appointment tile on Schedule say ‘Start Appointment' instead of ‘Start Visit’?
If the patient already has an open visit, the appointment tile displays the Start Appointment button. -
Why does the patient’s appointment tile on Flow say ‘Start Case’ instead of ‘Start Visit’?
If the patient already has an open visit, the appointment tile in the Checked In column displays the Start Case button.
Video: Schedule an Appointment & Start the Patient’s Visit
About Visit Details
Once you start the visit (from Schedule or Flow), or when you start the encounter from Patient Chart, you can add encounter-specific visit details via the encounter footer to easily track who is caring for the patient and where they are staying.
-
Select the first tab of the encounter footer to open the Encounter Details window.
-
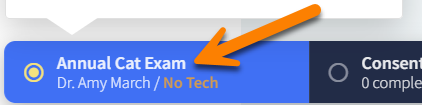
Select Care Team to expand the Care Team panel of the Encounter Details window.
-
List the Care Team Members and assign a Role to each user. The system supports up to five care team members. (Care team roles are preconfigured by org admins.)
-
Select a Vetspire user in the Search for a Care Team Member drop-down field.
-
Select a role for each user in the Assign a role drop-down field.
-
You can assign the same role to multiple care team members. You can also list the same care team member with multiple roles.
-
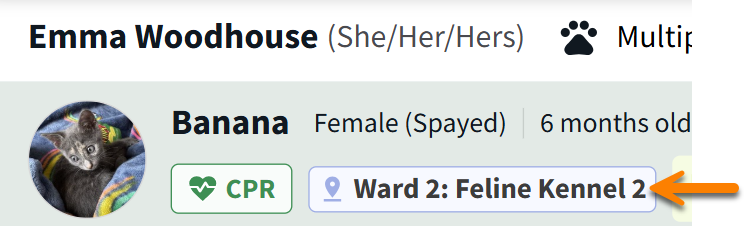
(Optional) Select the Ward and Kennel where the patient will be staying. The ward/kennel names display in Patient Banner until the encounter is signed and closed.
The system saves your changes automatically when you close the Encounter Details window.